
Create a Custom Collection
A collection in meddevo is the central structure where all data of the same type are grouped together. It is equivalent to a table in a relational database system. When you start out with meddevo, the system already comes preconfigured with different collection related to the relevant regulatory datapoints that are relevant for technical documentations.
But next to that, you can also create new collections for specific information that are relevant for your specific use cases.
To do so, first navigate to Administration -> Collection Management and Click the "+Add" button in the top left corner.
In configuring a collection, you will find two sections: The SETTINGS and the FORM FIELDS
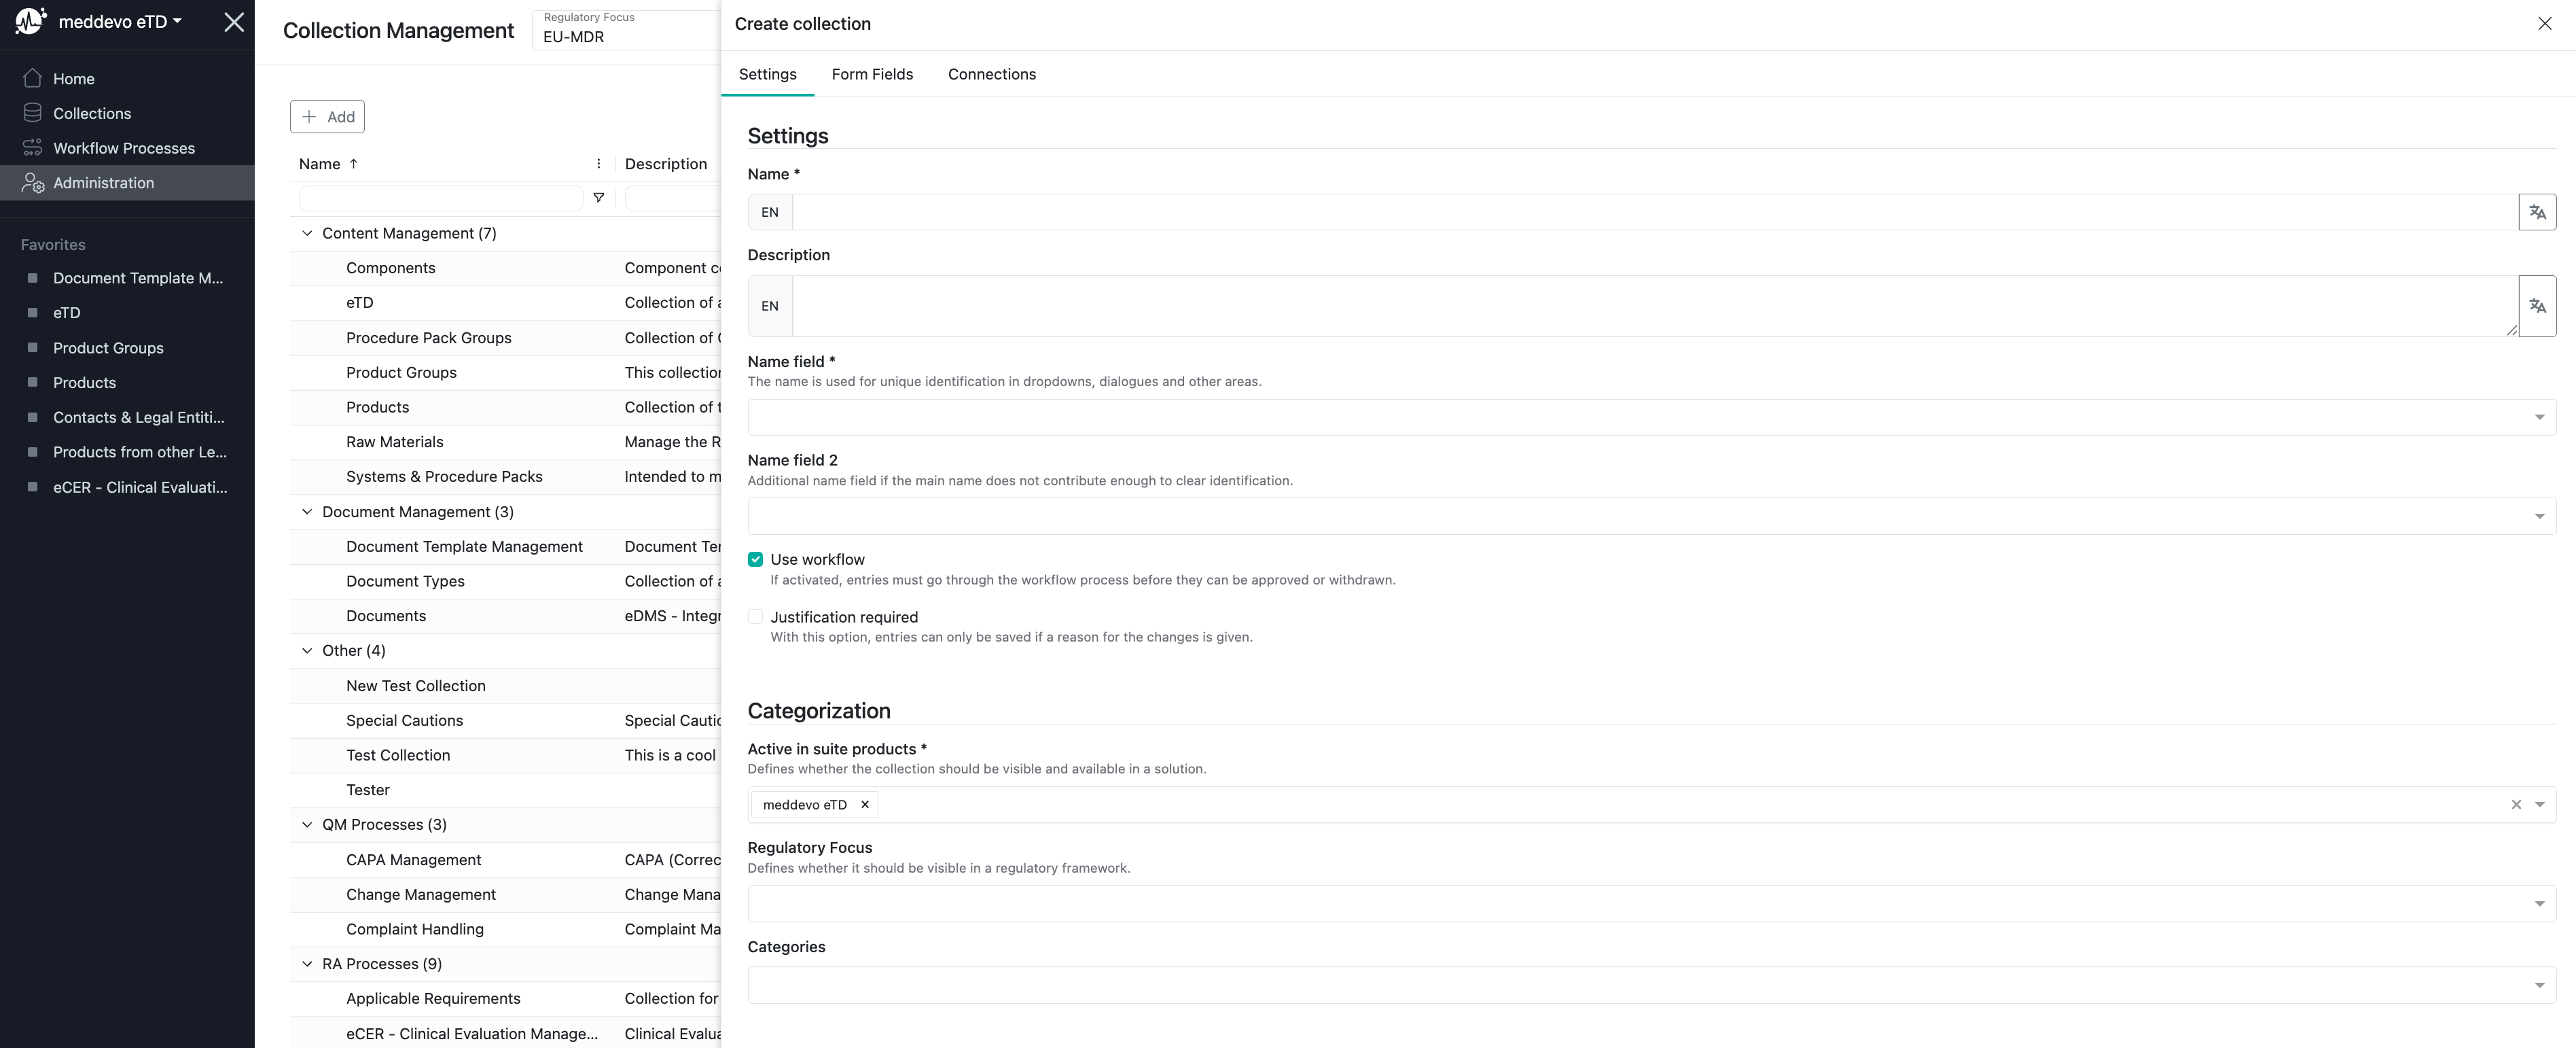
Settings
- Decide on a Name of your collection. Collection names can be defined in all active workspace languages.
- Prove a Description of your collection. We advice to add information like "This is our workspace specific collection that is intended to be used for ..."
- You will find that Name field * is required but can not be set right now. After you created your form fields, remember to come back here and select a Name field! The Name field is that part of the datapoint that will be displayed first when referencing this collection elsewhere, so its important to pick a form field that allows for clear distinguishment of the entries - in most cases, a form field like "name" is most suitable for the name field.
- The checkbox Use workflow determines, if new entries in this collection will be created as approved versions (1.0, 2.0,...) with saving, or if they are created as drafts (0.1, 0.2,...) and need to go through an approval workflow
- The checkbox Justification required determines, if a comment needs to be given with each change performed on entries in this collection
- Active in suite products is at the moment not relevant for normal users, please always select meddevo eTD here. This will already be preselected
- The Regulatory Focus can be used if you want certain collections only visible for certain frameworks. For example the "IVS Codes" are only relevant for IVDR, so that they are not visible in the MDR. IF this field is left empty, the collection will be displayed for all frameworks.
- The Categories dropdown provides a method to sort the collections in the collections management, making it easier to find them again when working on them. This is only informational and does not provide further functionality.
Form Fields
After the basic settings, you can move on to the form fields. All information within an entry is saved in a Form field. For example "Name", "Product Description" and "Risk Class" are each form fields in the collection "Products" and can be filled with Information. For you collection, you can now start creating your form fields - one form field for each information you want to save for the entries within your collection.
Form fields come in different types and we would advise you to test out the different types to learn what they are about and how they might suit different needs.
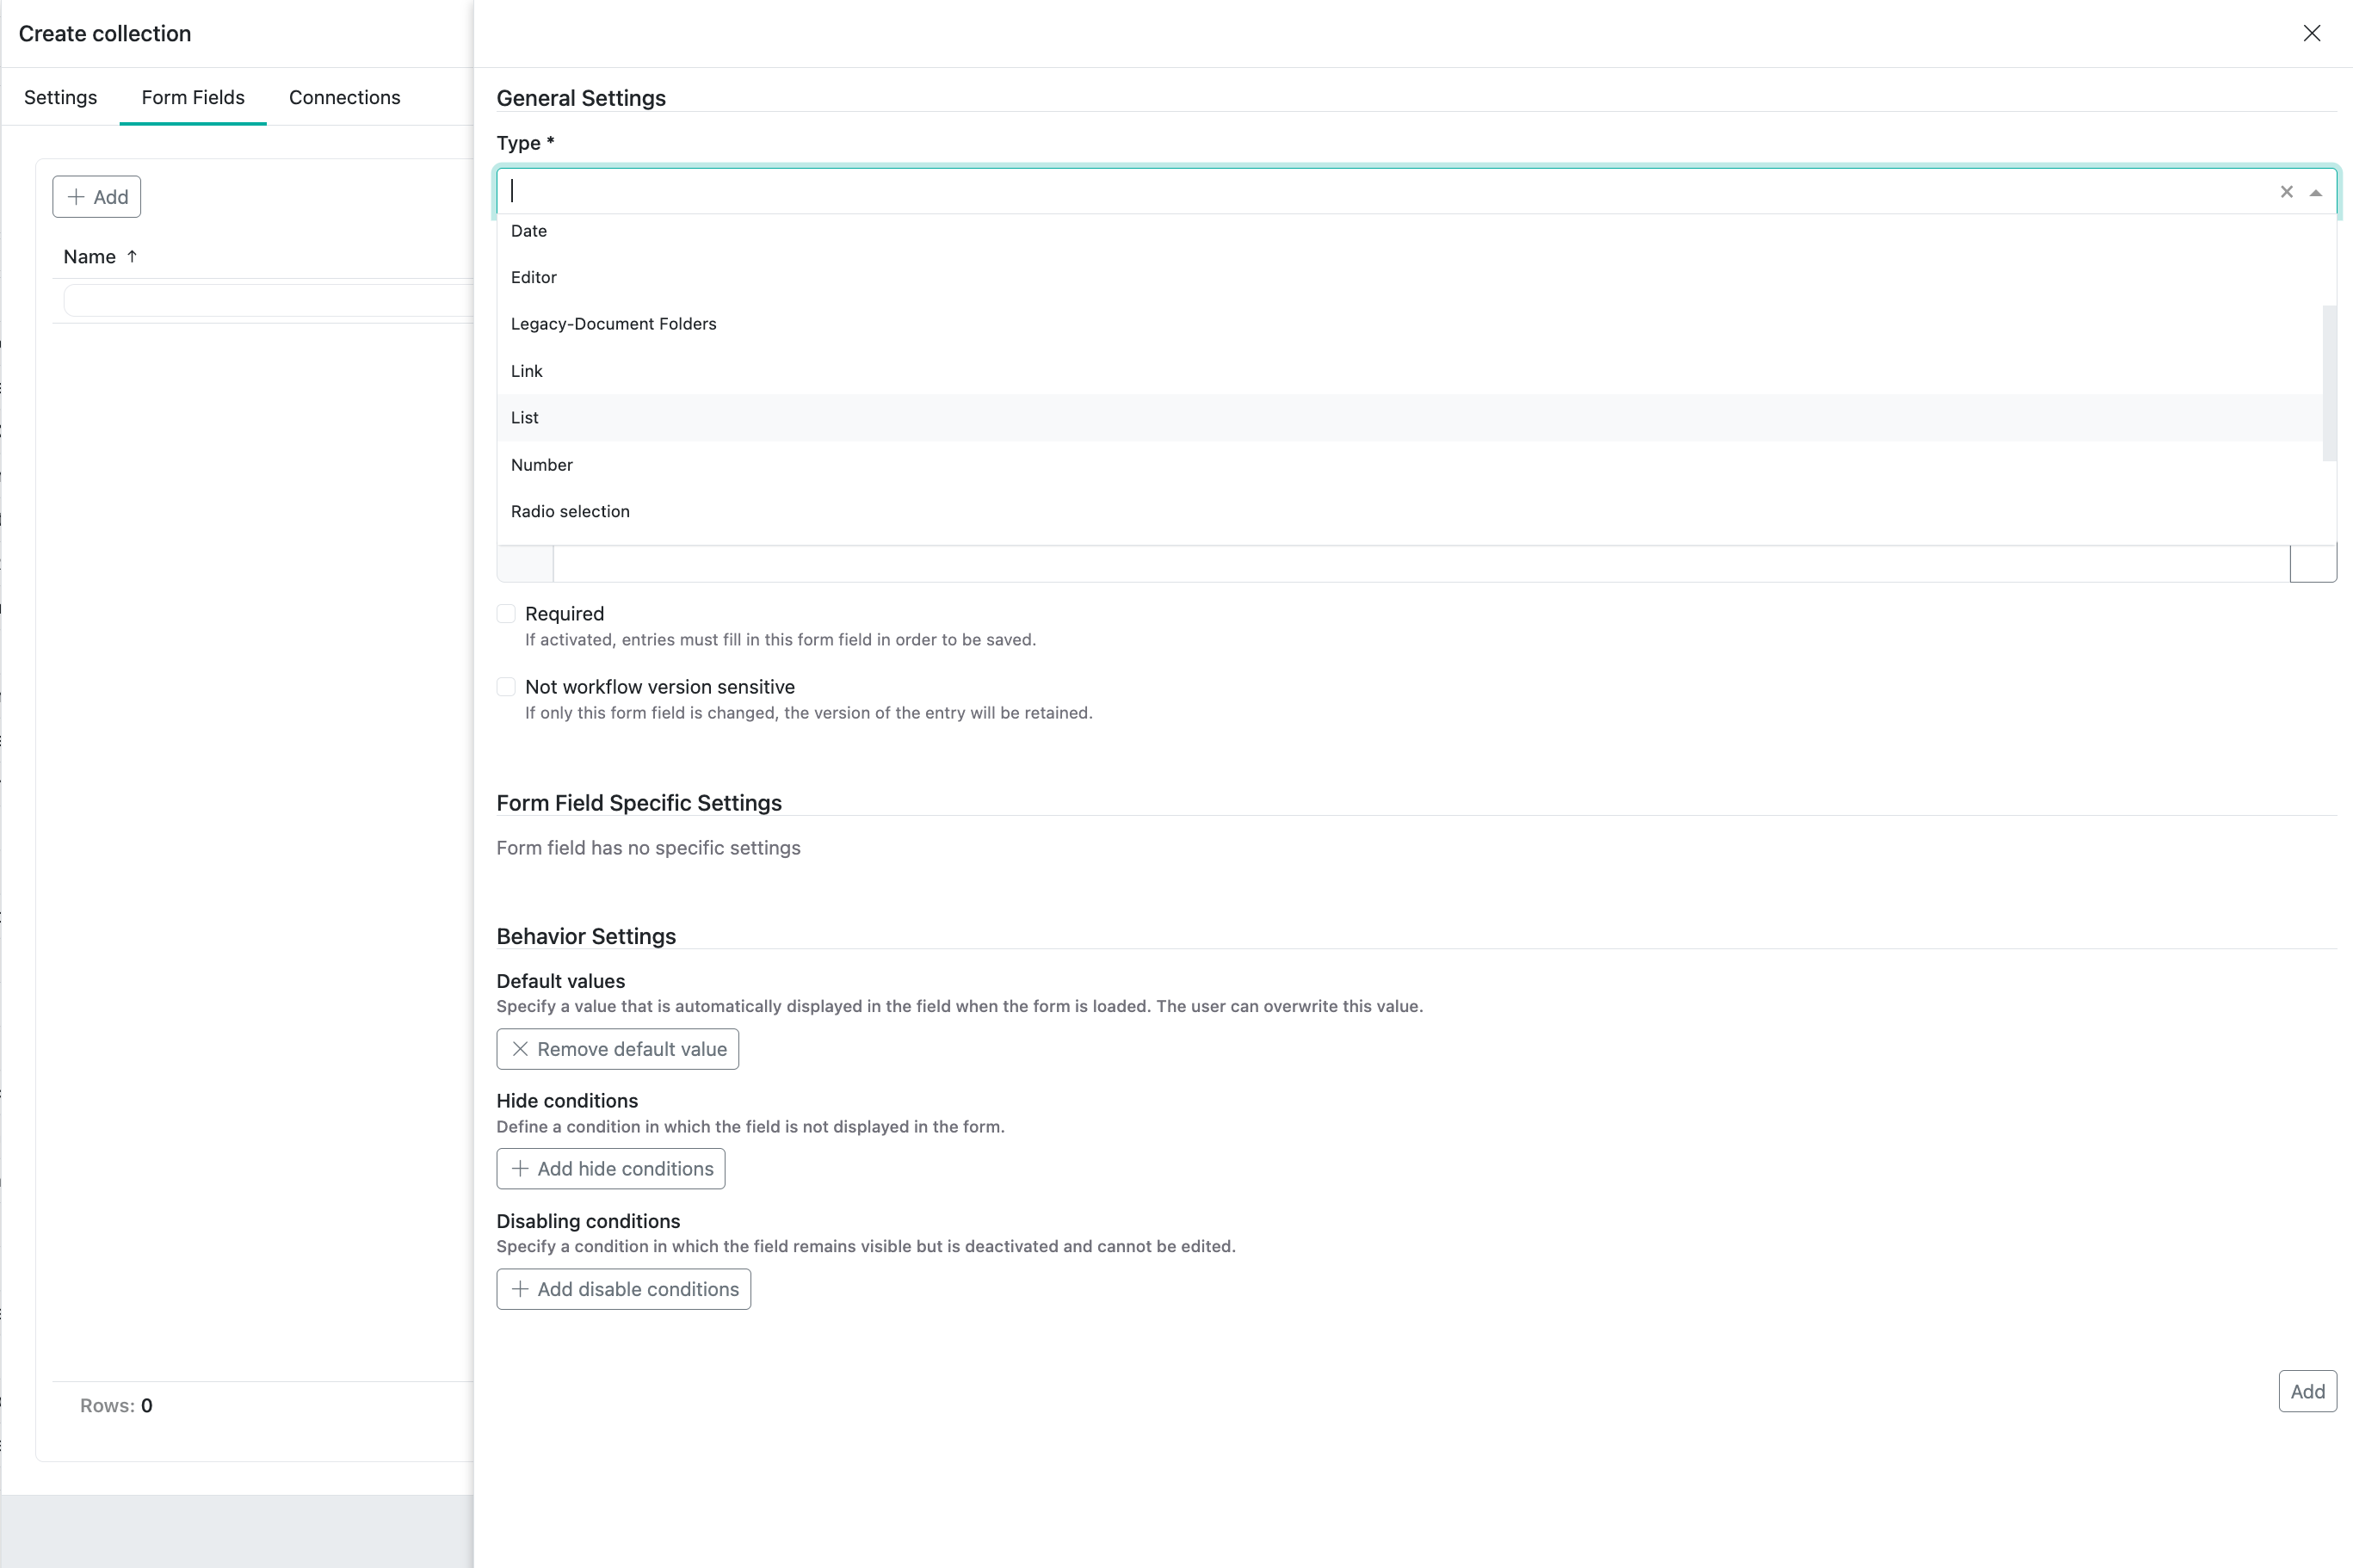
General Information to be set
- For Type you have the choice between Checkbox, Collaborator, Database reference, Date, Editor, Link, List, Number, Radio Selection, Reference, Select, Text and Writer. Depending on the Type you choose, additional/further information will be asked for subsequently.
- Decide on a Name of your form field. Names can be defined in all active workspace languages.
- Prove a Description of your form field. We advice to add information on how the form field should be filled out, examples and perhaps a regulatory source that can be used to find more background information on this form field, if necessary.
- With the checkbox Required you can define this form field as one that needs to be filled out before the formfield can be saved. Please be aware: This should be used sparsely! We understand that many information are required from a regulatory perspective, but this can still be communicated later on with an error-message via the Inspector. If you use this setting, the formfield will technically be required to be filled before any entry can be saved! This is, for example, in meddevo standard only used for Codes/IDs that are used to identify an entry.
- With the checkbox not workflow version sensitive you can create form fields that will not cause a new draft or major version of your entry.
Form Field Specific Settings
- For the form field type Checkbox you can choose if you want to have a three state (not defined/yes/no) or a normal checkbox (unchecked/chedked)
- For the form field type Date you can choose if you want to show time (instead of only date you will now be able to also add hour and minute) and you can choose to calculate date. The calculate date requires another form field of the type date and allows to add or substract a certain amount of time to the value of the other value. This could for example be used for a yearly review with a date form field "last check" and another "next check" that calculates last check + 12 months.
- For the form field Editor you can choose if the formfield is translatable, meaning you can enter the information in all active workspace languages.
- For the form field List you have to choose which specific information should be in this list.
- For the form field Number you can choose if the field shall have a Max Length, Min Length and you can make a number unique. This means, that any value can only be used for one entry. This is useful for example for IDs that shall not be given to several entries.
- For the form field Radio selection you have to Add the specific Options that shall be available for selection.
- For the form field Reference you have to pick single database (please DONT use multiple database at the moment!).
- Next you have to pick the respective collection that shall be referenced. Next you can choose if multiple possibilities shall be possible, meaning if in using this formfield, the user shall only use a 1-1 link or a 1-n link shall be possible.
- The option "hide link" is legacy and no longer holds any functionality.
- The option "smart grid" is legacy and no longer holds any functionality.
- The option "Use filters" is currently in rework and does not hold any functionality.
- For the form field Select you can choose if it shall be possible to select multiple options at once.
- The option "smart grid" is legacy and no longer holds any functionality.
- For the form field Text you have to choose if the field should be textfield or textarea, you can choose if the field should be translatable, if it shall have a Max Length and/or a Min Length and if it shall be unique. Please be aware that we currently experience a bug, in which its possible to select both "translatable" and "unique" together. This will cause the field to NOT be unique! If you want your textfield to be unique, make sure to not make it translatable.
- Text fields of the type "textfield" can be used as unique identifiers in data imports. Textarea are bigger areas that are suitable for longer texts.
Behavior Settings
These settings are again of general nature and do not differ between different form field types
- You can choose Default value(s) that will be displayed in the formfield whenever no text was entered manually.
- You can add Hide conditions that will cause the field to not be displayed in views, if the conditions you define are fulfilled. As a hide condition you can use a content type (that equals a single condition) or a group (meaning that you can add several content type conditions)
- An example of a hide condition would be: "delivered Sterile Equals NO" that could be used for the sterilisation summary - a product that is not delivered sterile does not need a sterilisation summary, so the summary field can be hidden when the product has already been declared as not sterile
- A group is simply a combination of content-type conditions that are grouped with an AND or OR
- You can add Disabling conditions that are a slight alteration of the Hide condition. Here you can again define rules (single content type or groups of content types) that, when filled in a certain manner, cause the field to be greyed out. In difference to the hide condition the field will in this case still be there but can not be filled with data.
After creating the form fields you intend your collection to hold, make sure to use the Save button on your collection.
Lastly, move back to the "Settings" page as you still need to set the Name field and the Name field 2. The Name field is that part of the datapoint that will be displayed first when referencing this collection elsewhere, so its important to pick a form field that allows for clear distinguishment of the entries - in most cases, a form field like "name" is most suitable for the name field. Name field 2 will be the information that can be displayed along side, if the primary Name field alone is not sufficient for distinguishment.