Document Import
To perform a document import, all documents must first be combined in a zip file. The ZIP file can also contain folder structures. These are displayed accordingly on the processing page of the import in the system.
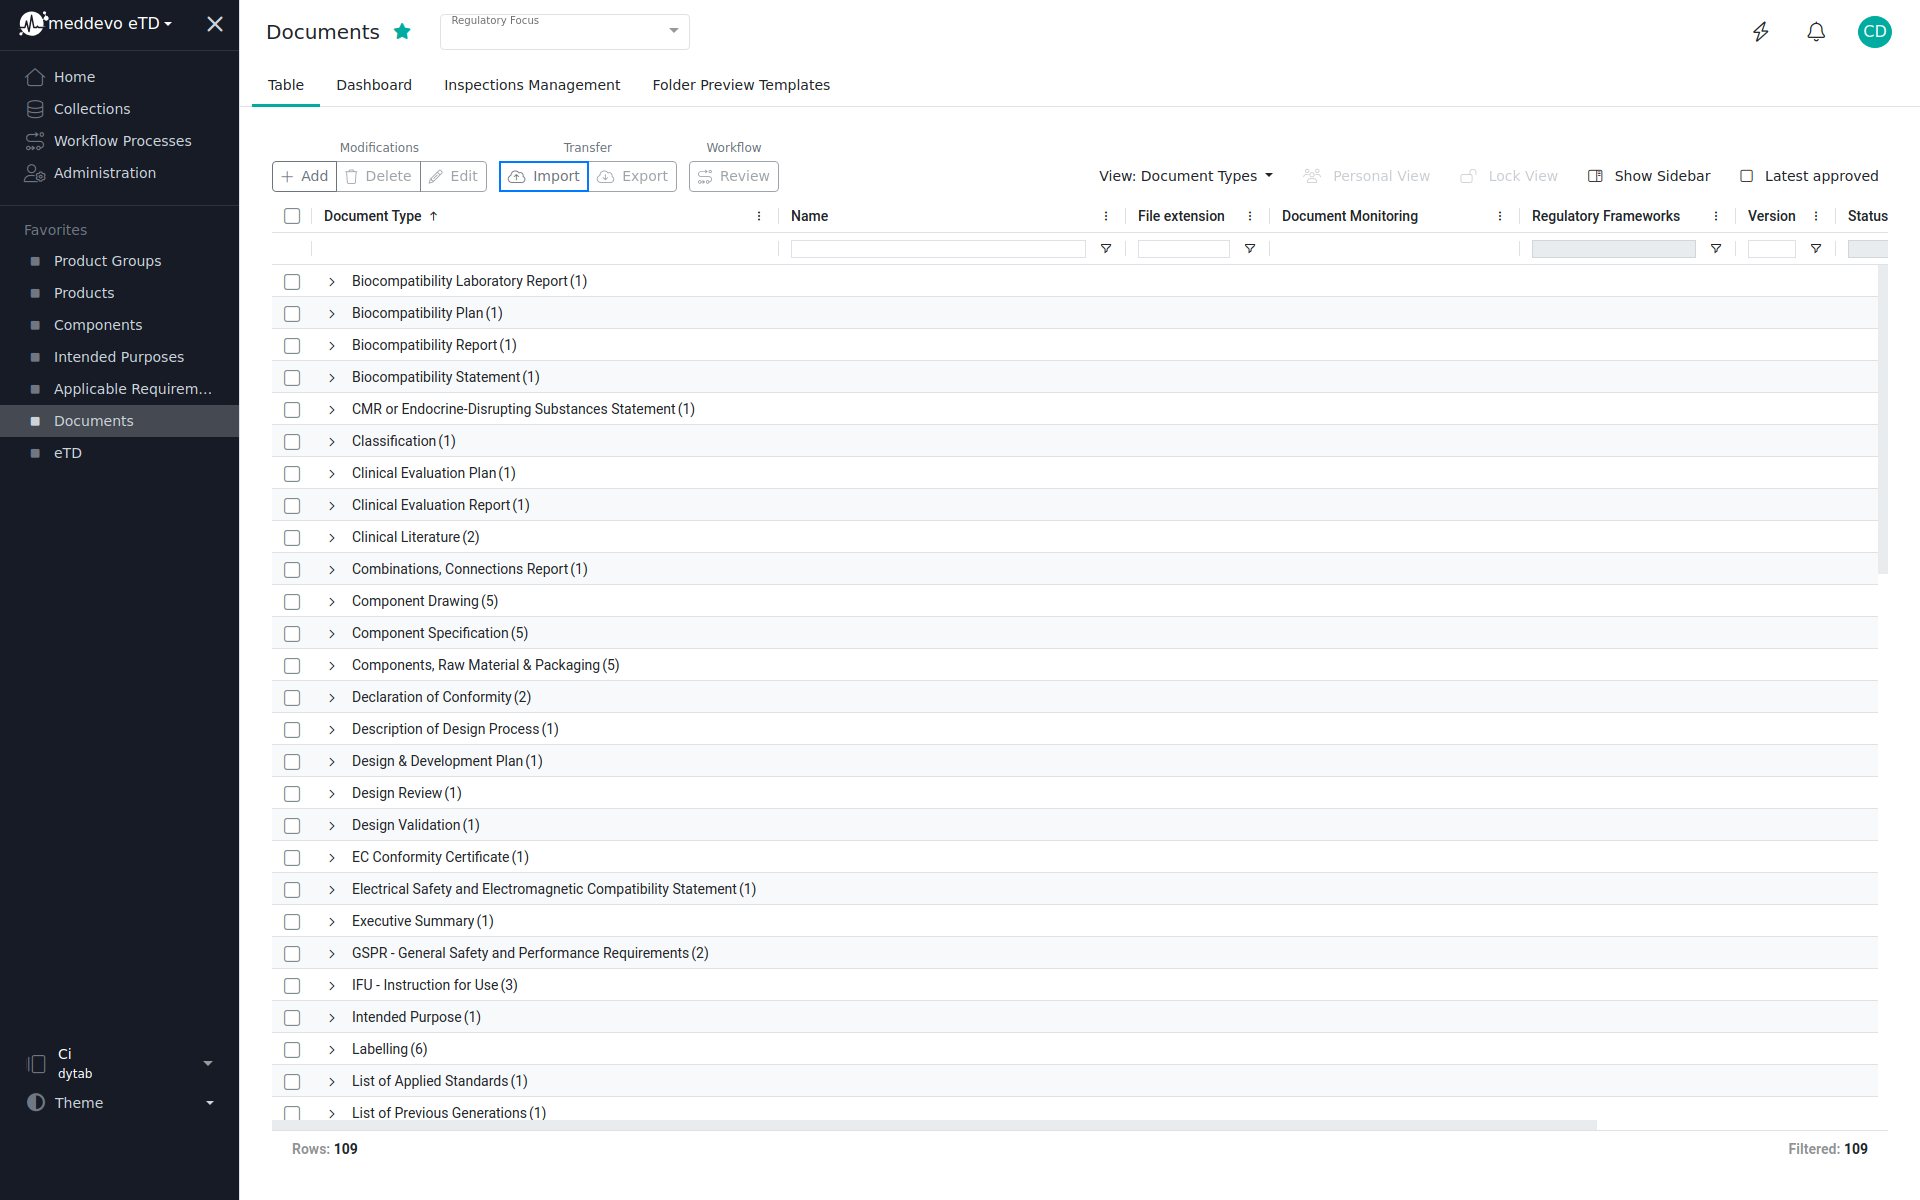
1. Click on "Documents".

2. Click on "Import".
3. Assign a name to your import. (1). This helps in tracking all imports that you perform. Browse your local file server (2) and upload your prepared zip file (3).
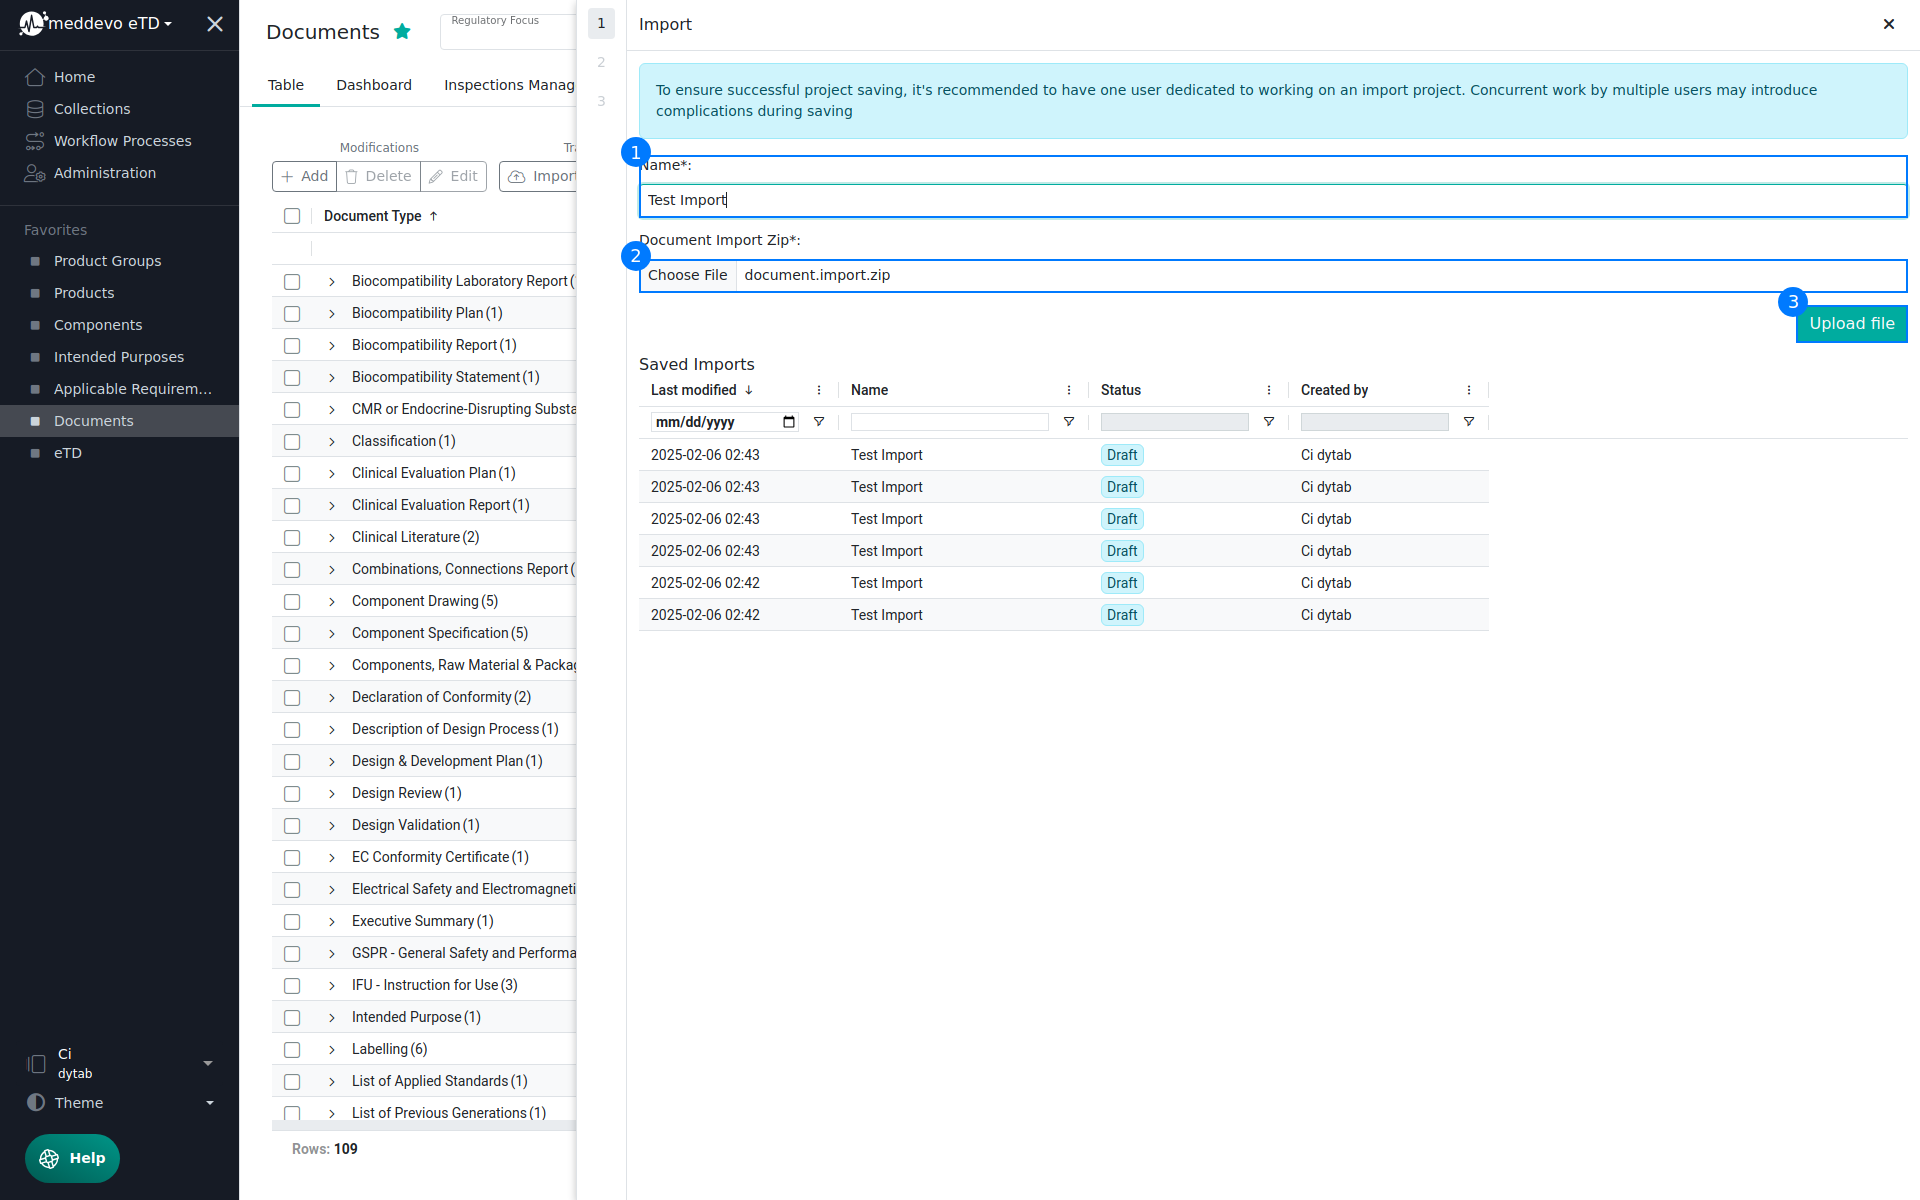
4. Once uploaded, the folder structure will be displayed. You can start editing the documents individually or in bulk
First of all click on "Save". You can finish your Import later or a colleague can review before uploading.
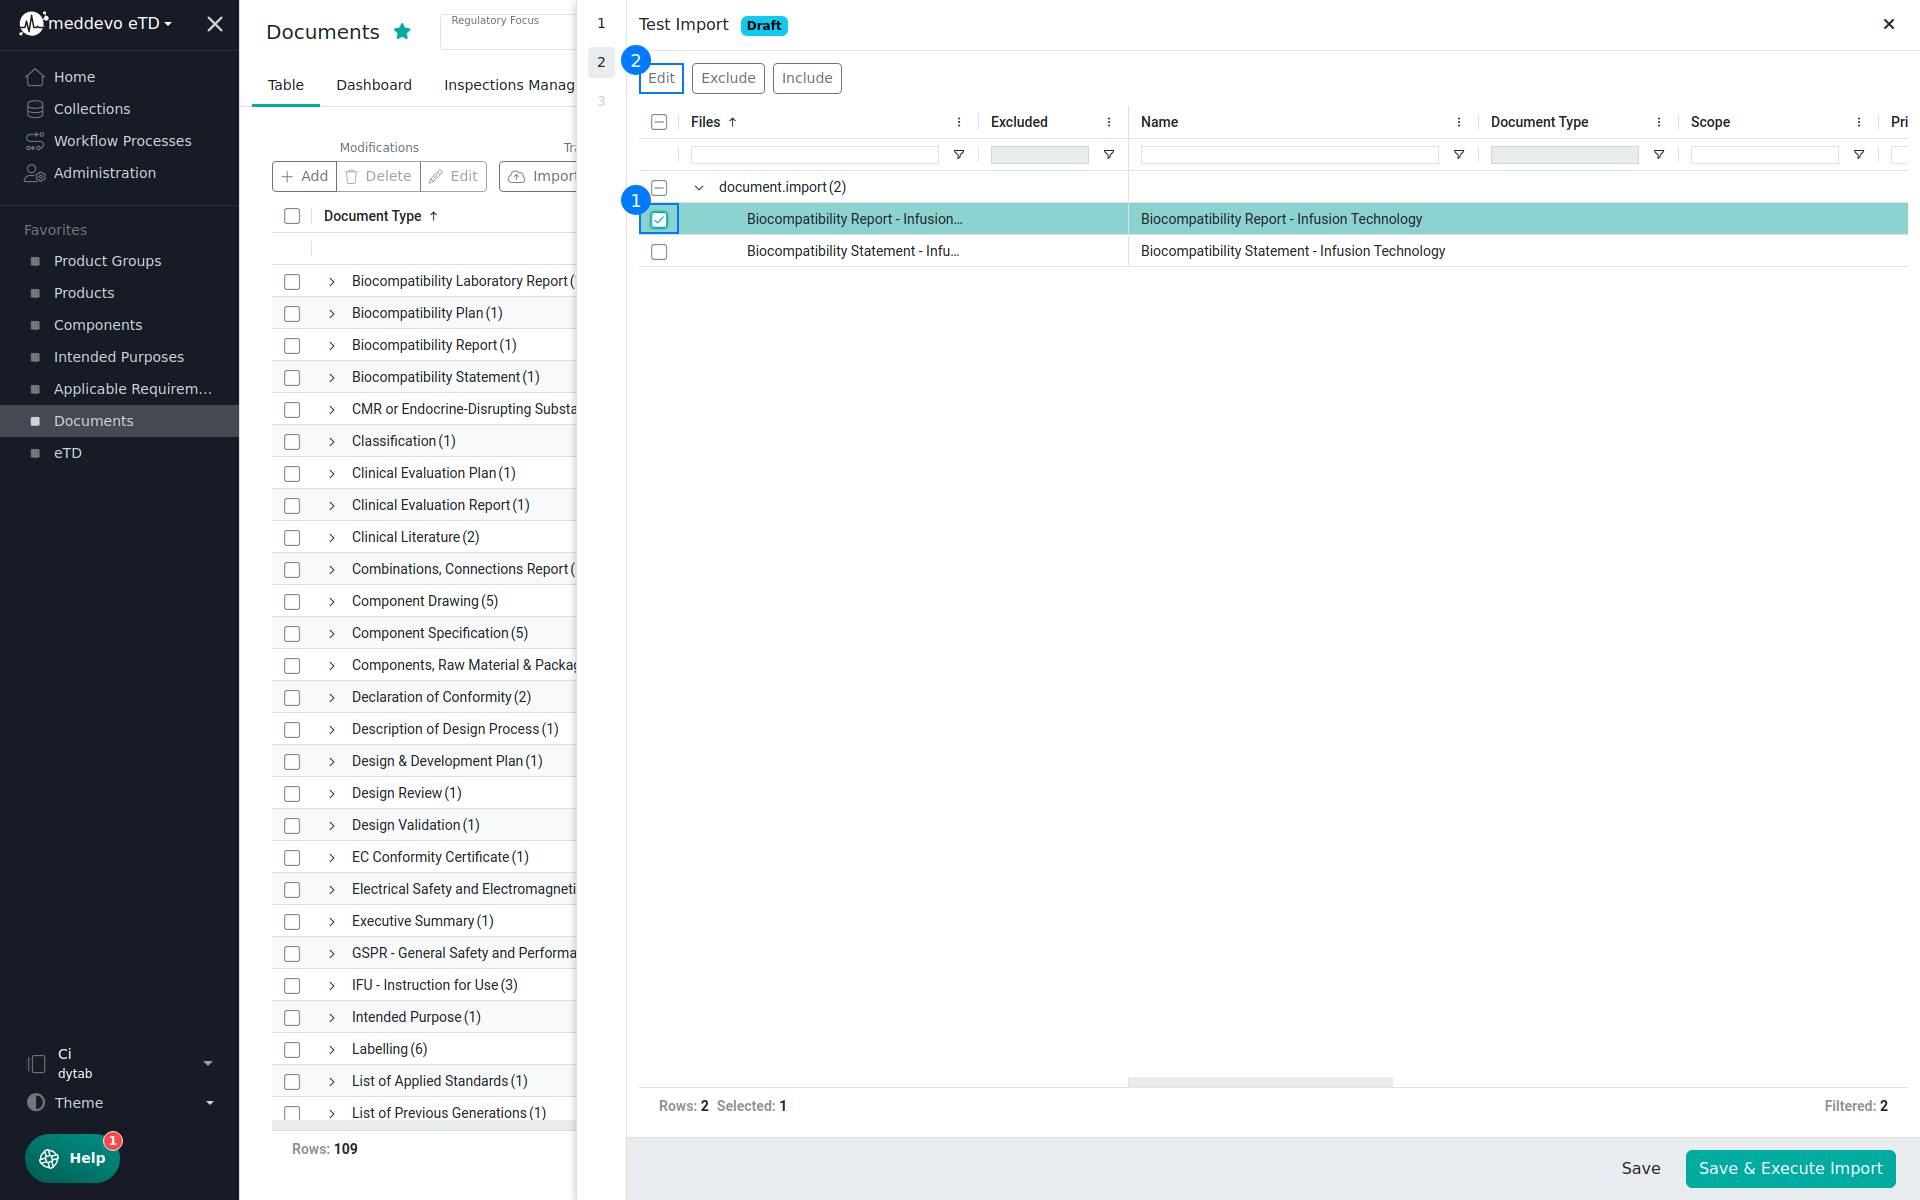
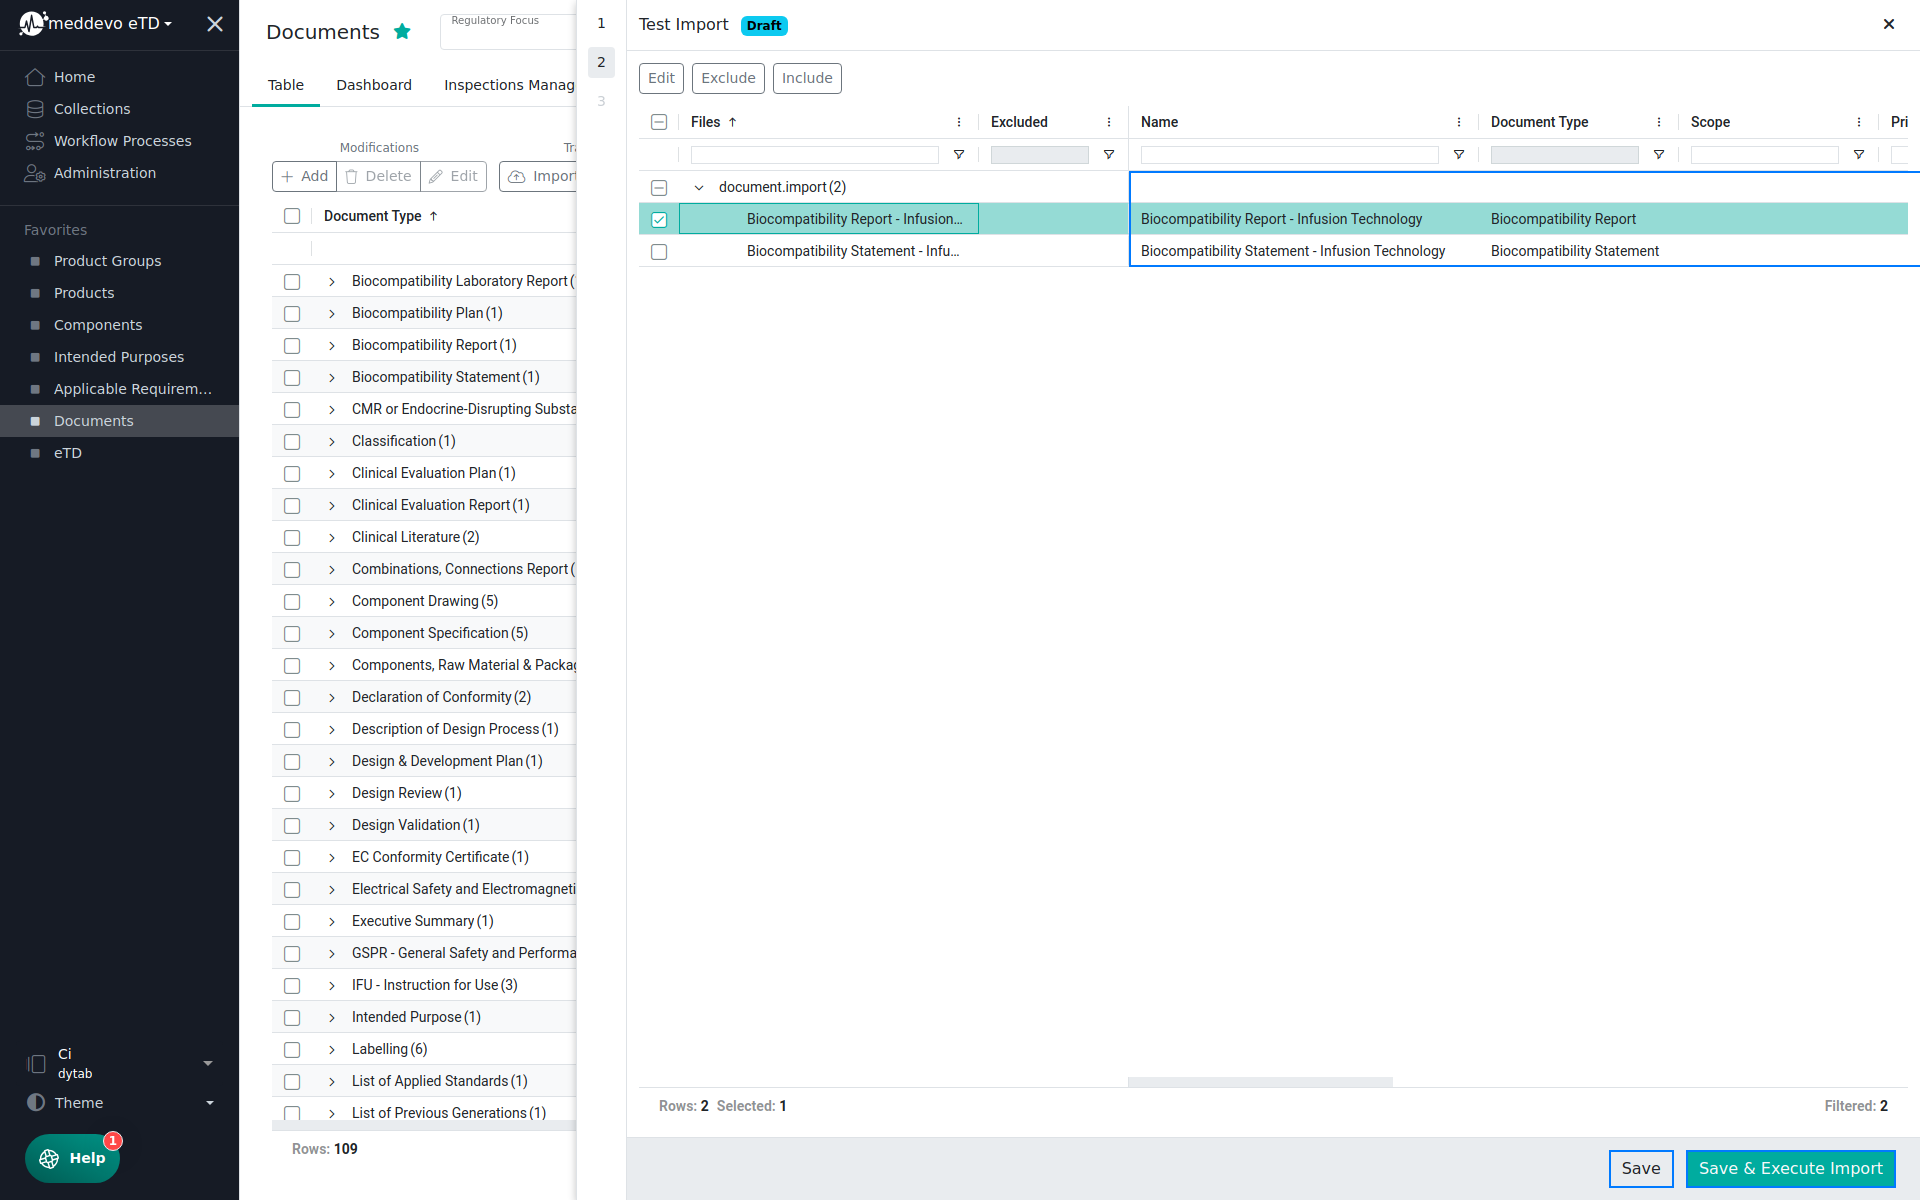
By selecting one document (1) you can "Edit" it. (2) Pick one and open it.
You can set several metainformation for your documents:
- You can rename documents.
- You have to assign the correct Document Type.
- You have to select the correct scope. Either select a eTD (will include everything within) or select individual product groups or just products.
- Select all regulatory frameworks under which the document applies.
- You can set the primary language and document language.
- Add external or legacy ID if needed.
- You can select if the document is external, if its already signed and/or approved.
Once you have filled in all information for this document, click "Update".
Edit several Documents
Instead of changing the settings of one document, you can also change the settings of multiple documents at the same time.
Attention: If you use the multi edit function, please skip the "Name" field. Otherwise all selected documents would have the same document name.
Select multiple documents on the left. You can also click on a folder, then all related documents are selected.
Click "Edit" once you made your selection.
You will then see the same entry fields as before, but this time you can change the information simultaneously for many documents.
Perhaps you have picked all documents belonging to one product? Go ahead and select the corresponding product.
Make your adjustments and click "Save" again.

6. You might accidentally put files into your ZIP that you now realize shouldn't be in here.
In this case, the "Exclude" Option above can help you.
Select the document and click "Exclude". Those documents will not be imported in the final step.
Through "Include" you can reverse this step.
7. You can change and re-change the attributes as often as you like.
Take your time here. Setting up the documents correctly in the beginning is very important and will help you in the future.
You can click "Save" below and come back to finalize this document import any time later.
Currently we are only preparing the import. Once you are finished with these steps here, click "Save & Execute Import" below. After this the documents will appear in the system.
Depending on the amount of documents, the Import can take a while. Click the "x" and wait for the documents to show up in the document overview.