
Access Control Management
The Access Control Management feature in our system allows you to effectively assign and manage user rights by creating custom roles. This guide will show you how to create and configure roles, assign the necessary rights and test the setup.
Note: This feature will be undergoing a major rebuild in the near future. Some of the functionality may not work as expected, and custom roles created now might not be available after the update. We will inform you before any significant changes and apologise for any inconvenience.
Access Control Management Overview
Access Control Management provides a structured way of managing user roles and their rights. While the system comes with pre-defined roles (e.g. 'Administrator' or 'Content Creator'), that can't be edited, you can create custom roles to meet specific requirements. This allows you to control exactly what users can see and do within the workspace.
Step-by-step guide to creating and configuring roles
Note: If you want to test your role configuration, you can go through these steps on your Playground Workspace first, before creating and assigning a custom role on your productive workspace.
1. Open Access Control Management
Navigate to the Administration area and click the Access Control Management tile to open the section.
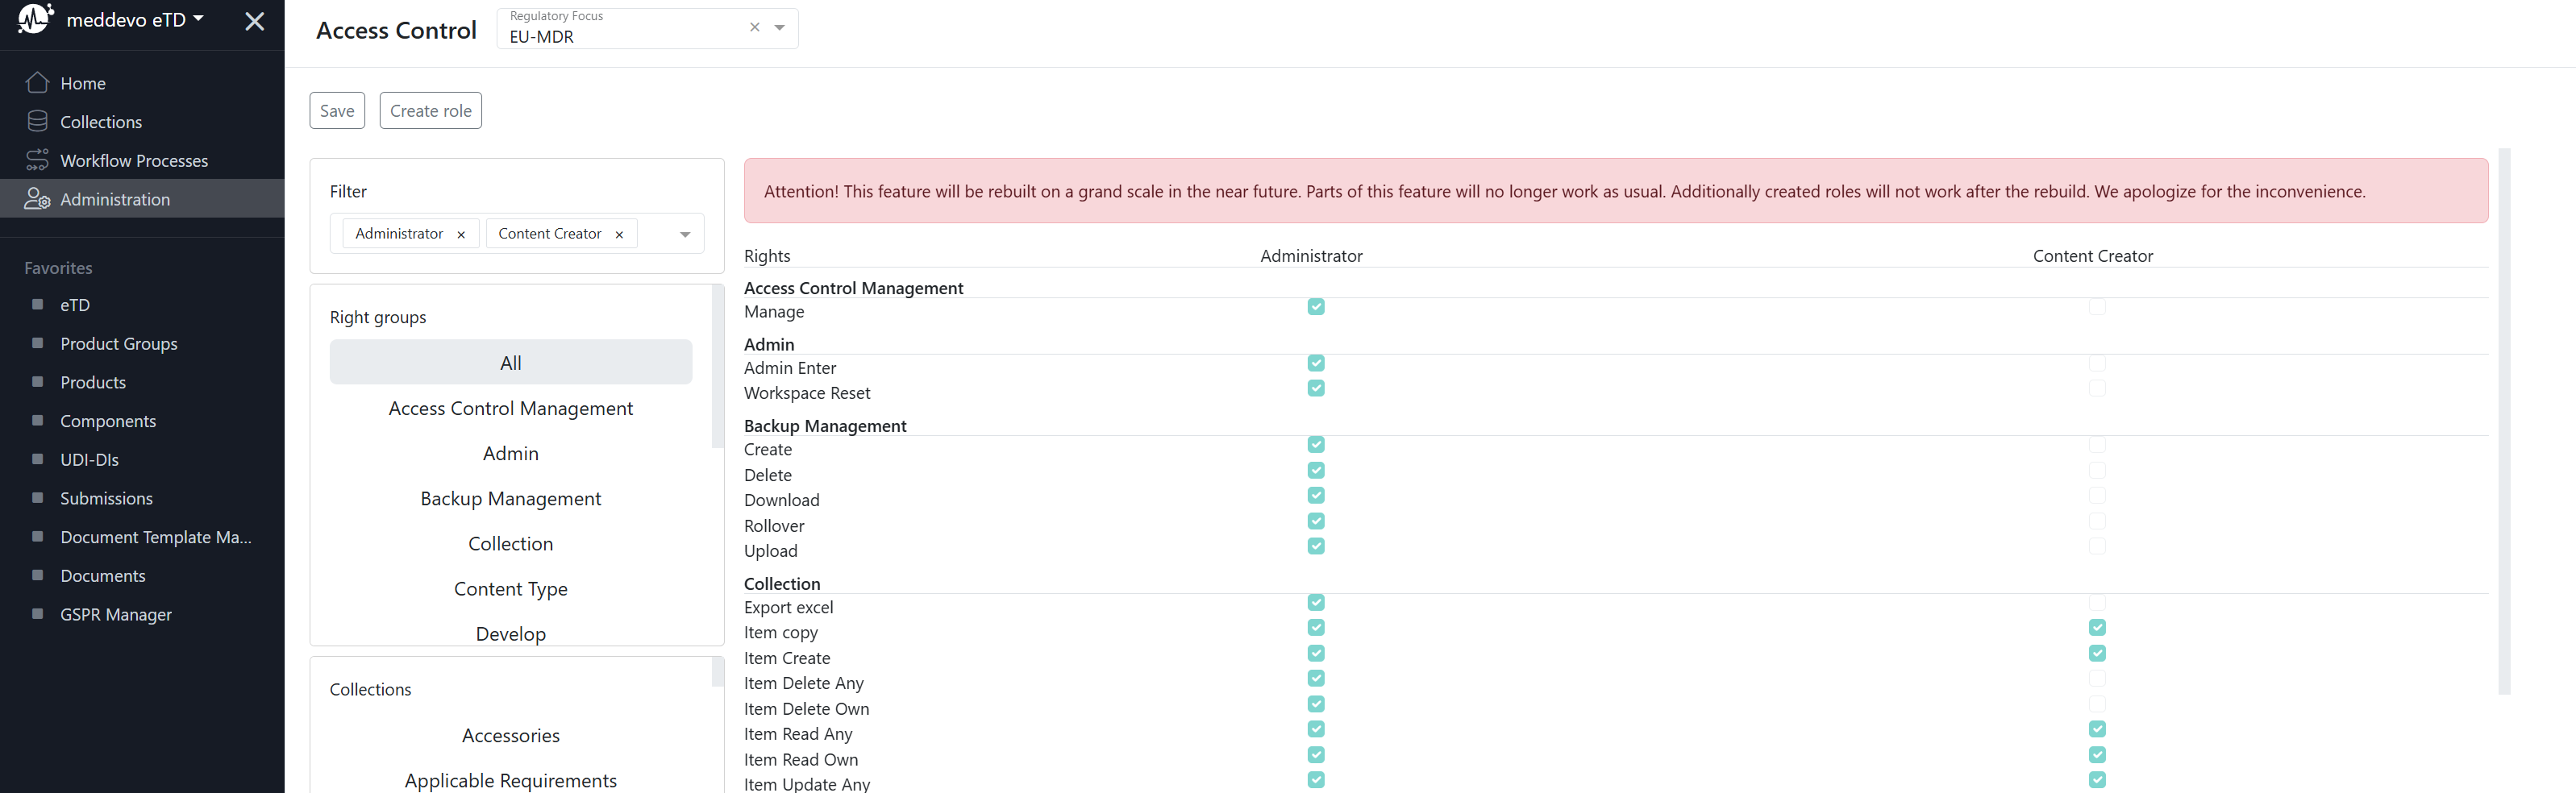
You'll see a list of Roles and their respective rights displayed in a table.
2. Create a custom role
Click the Create Role button at the top. A dialogue box will appear.
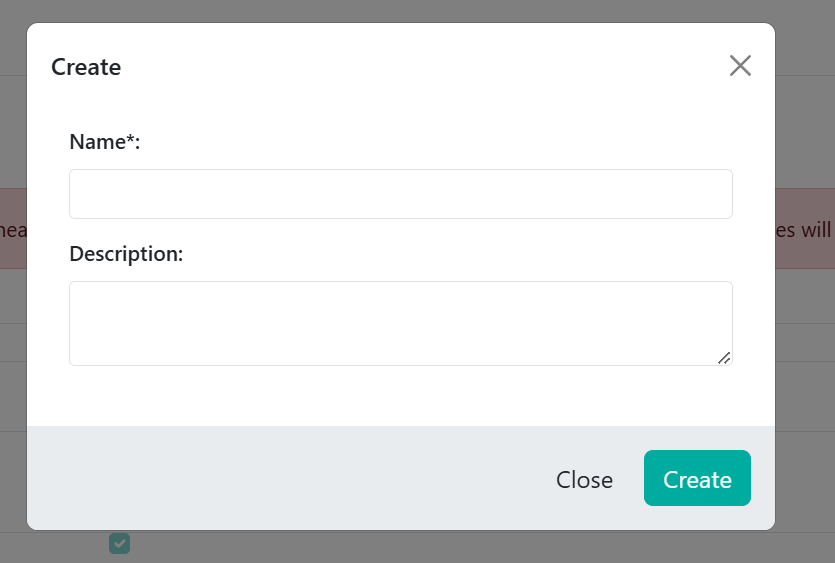
Enter a name and optional description for your custom role.
For example 'Team Viewer with Export Rights'.
Click Create to continue.
3. Filter and Review Existing Roles
Use the Filter dropdown to select which roles to display (e.g. 'Administrator', 'Content Creator'). This will help you compare the default roles with any custom roles you have created.
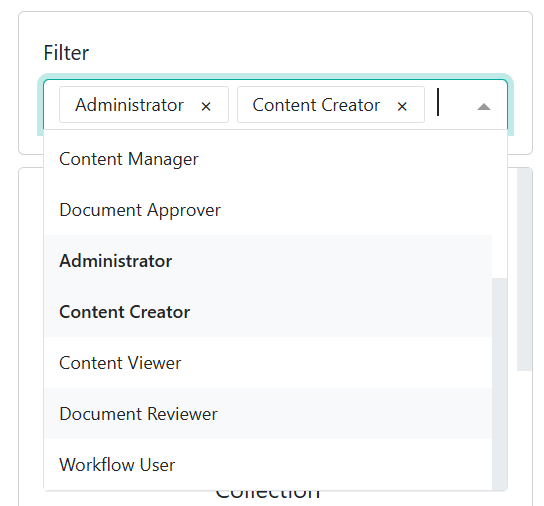
Click on a role to view the associated rights. The table shows which rights are granted to each role, grouped by categories such as Collection or DMS (Document Management System).
4. Configure rights for the custom role
Select the newly created role from the list.
Assign the required rights to the role by selecting checkboxes.
For example in the Collection category, select
- Item Read Any (for read-only access).
- Export Excel (to export data).
Tip: Use the preset roles, such as 'Content Viewer', as a reference to ensure that your role covers the required functionality.
5. Save and test the role
Click Save to apply the changes to your custom role.
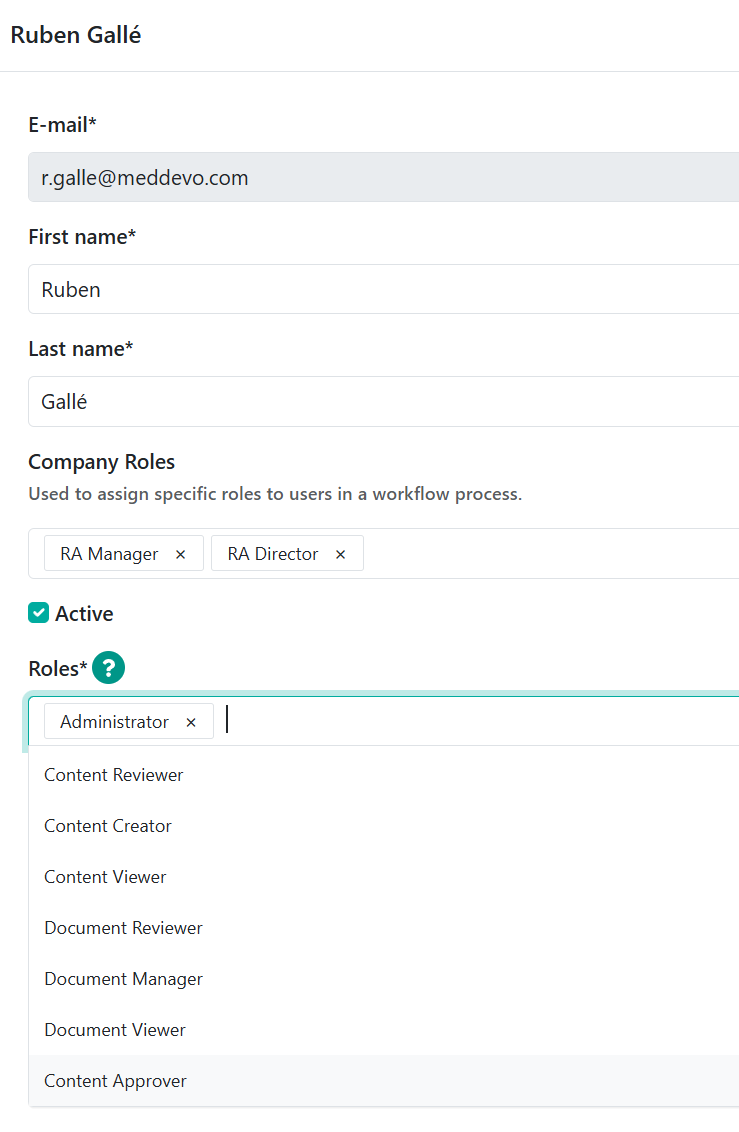
Go to back to the Administration Area and click on User Management to select a user and assign the role to them.
Check that the user has the appropriate rights:
- They can view the required content (read-only access).
- They can export data to Excel without having unintended rights such as editing or deleting content.
Note: If they already have roles assigned, they will have the combined rights of all roles assigned.
Search supported Keywords:
- Zugriffskontrollen Administration