Create a new Writer Document Template
General information
In meddevo there is a DMS (Documents Collection) where documents can be uploaded or created based on Writer templates. Only released data flows into documents here.
In Document Template Management, on the other hand, templates can be created and all potential or all data/information is displayed in the preview, even if it has not (yet) been released.
All content fields (whether from eTD, PG or P) can be displayed in Document Templates and in some cases displayed in different ways
Recommendation - duplicate and change our templates, everything is already preset here, including the cover sheet, table of approval and table of content
- Of course, you can also create completely new templates and should make the basic settings directly here
Creating a new template
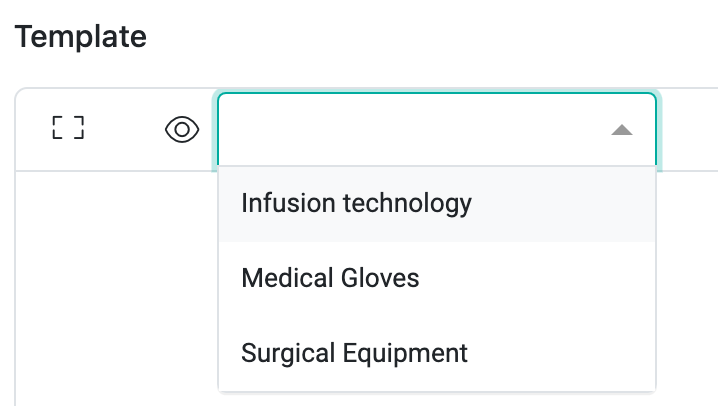
- Assign a name for the template (multilingual)
- Define the document type (the document type ensures that the document is displayed in the correct folder in the Folder Preview)
- Assign a ‘document name’ (default name for the documents created based on this template)
- Define the language of the template
- Set the type to Writer
- You can enter a description for the template
- Choose the collection (data basis for the Writer template, so you can access all the contents of this collection and also the contents of linked/referenced collections)
- Define the Regulatory Framework. This defines the folder preview in which the document appears. In other words, whether the document applies under both the MDR and FDA, for example.
Basic settings in the document template
There are also further setting options in the actual template view; to do this, select the small cogwheel on the left side of the screen:

The following settings can be made here:
- Format (DIN A4/DIN A5)
- Orientation (portrait/landscape format)
- Font (mono, serif, sans serif)
- Header and footer template
- Language
- Collection or directly define an entry as the data basis
- Heading numbering (note: only headings with numbering end up in the table of contents, so it is best to always number from Heading 2 if you want to use Heading 1 as the document title)
See what documents will look like while you create a template
If you then want to create the document template, you have the option of activating full screen mode and you can select an entry as a preview:
In this way, you not only create areas in which data is to appear later, but you can also see how it would look with data as an example.
Working in the Writer
In meddevo Writer you can start working simply by typing away! Next to normal key-to-screen input, you have 3 options for adding new content:

You can add new blocks using the +, more on this in a moment.
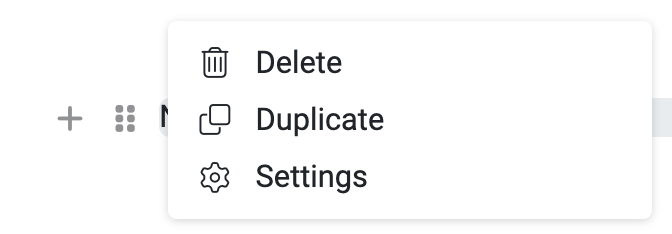
The 6 dots can be used to move blocks via drag & drop or by clicking on this symbol, you can duplicate or delete blocks or you can access the settings if you have created an entry content via the ‘+’.
The @-symbol opens a small menu that you can use to link the following content in the document or template:
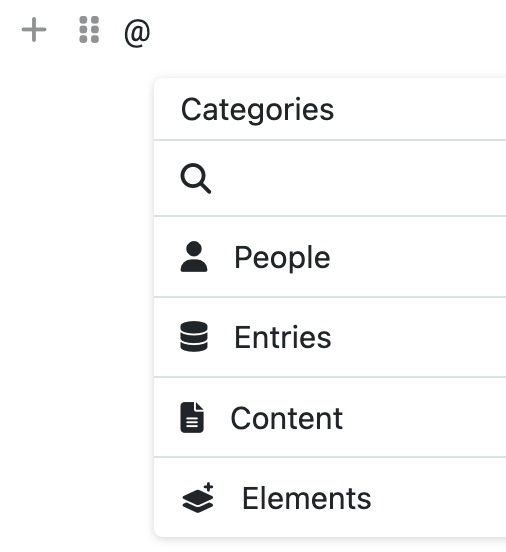
- You can reference persons (all users of this workspace)
- You can reference entries directly (all entries from this workspace, whether documents or content)
- You can reference general content (text and editor fields)
- You can insert the following elements:
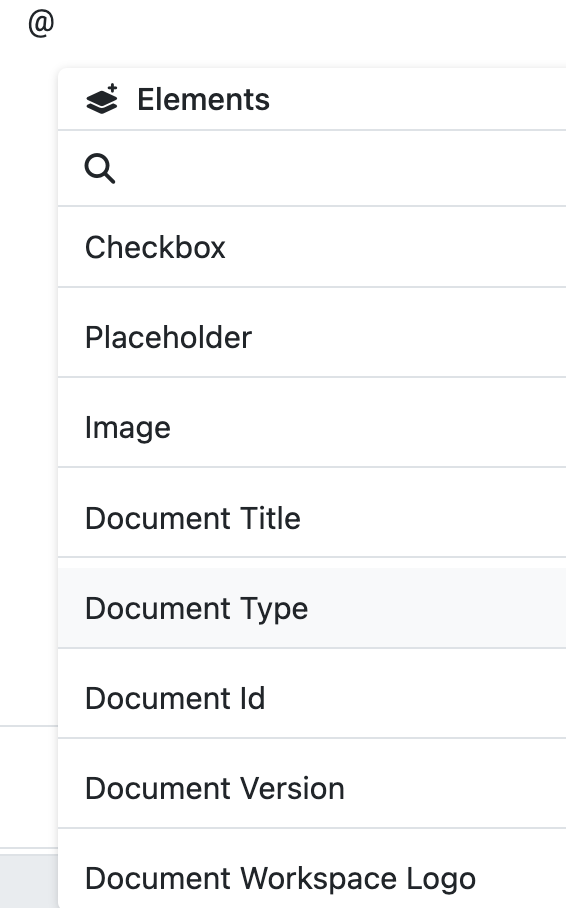
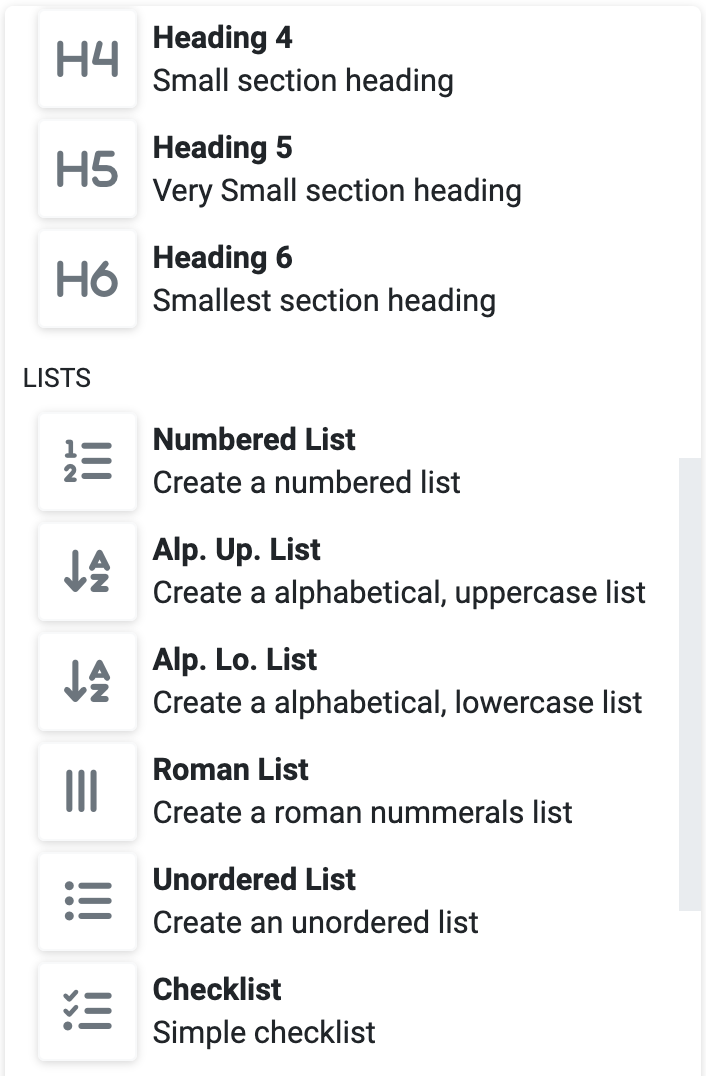
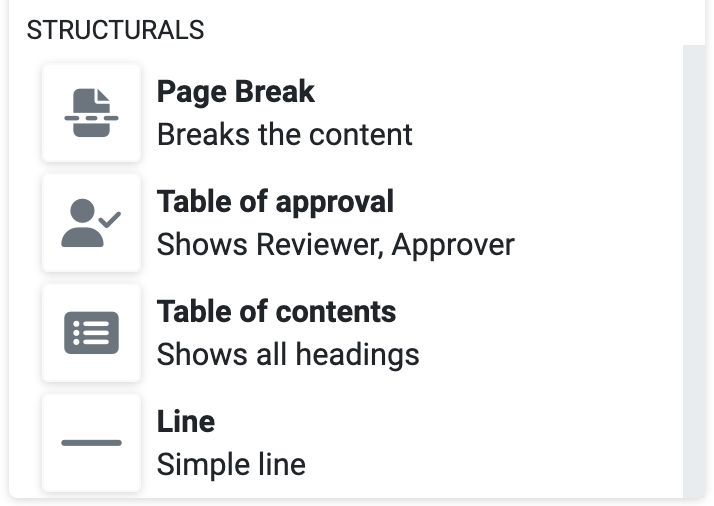
You can use the ‘+’ to insert the following things in the Writer template/document:
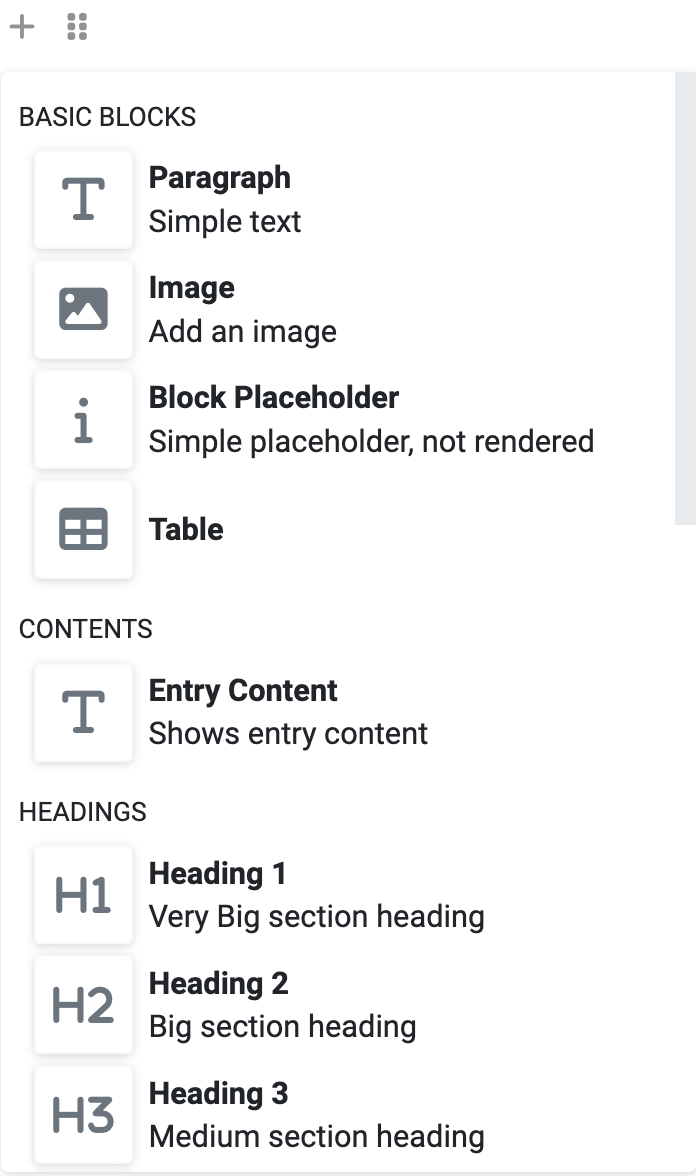
These blocks should all be self-explanatory, except for ‘Entry Content’.
All fields/information from the content management can be addressed and shown here.
In addition to automation, all content is also monitored at the same time. If information is changed and released, all documents linked to this ‘Entry Content’ report that they are no longer up-to-date and need to be updated. To do this, the corresponding document must be edited and saved (2 clicks).
Now we come to the configuration of ‘Entry Content’.
As soon as you have added it via the ‘+’ it will appear in the Writer like this:

The 6 dots in front of the line (if you hover over them with the mouse) take you to the settings:

If you click on ‘Settings’, the following window appears:
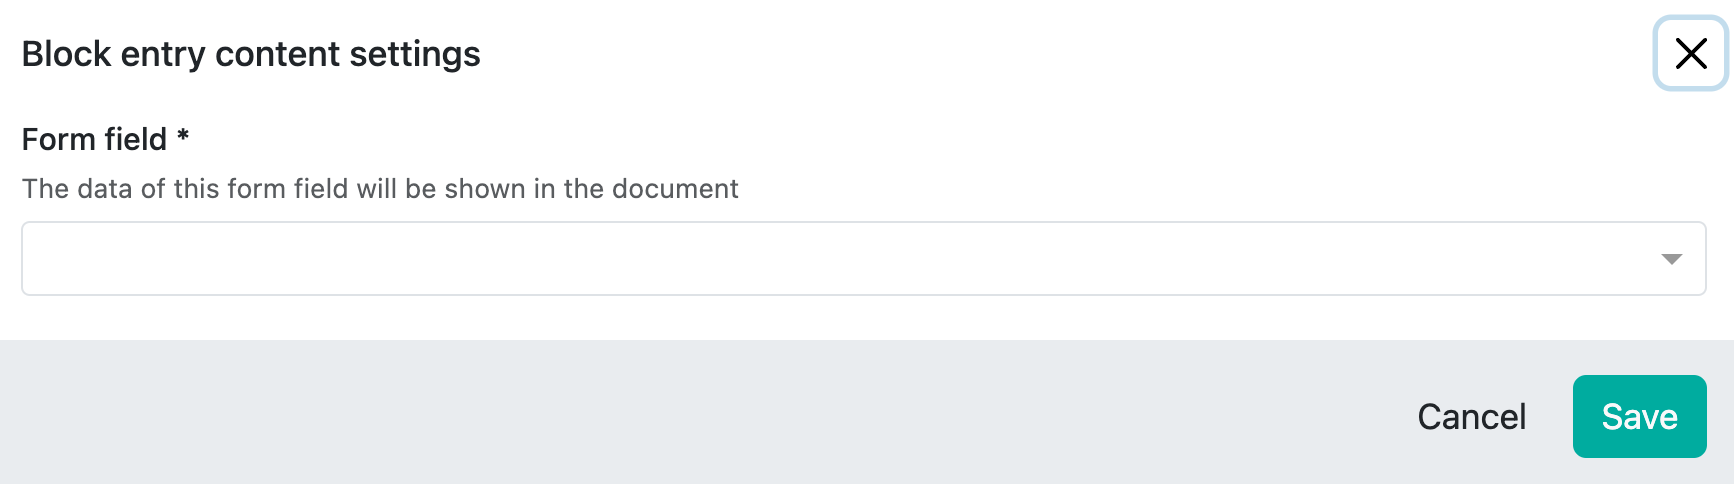
Here you can now address any field that exists in the collection that you have previously selected as the data basis in the ‘Meta Data’ as a collection.
Let's start with a few examples. It is easy if you select the following types of content fields:
- Checkbox
- Radio Selection
- Select
- Text
- Editor
- Number
- Collaborator
Because when you select an editor field, for example, you only have the option of formatting it, specifying the language and adding a prefix or suffix if necessary:
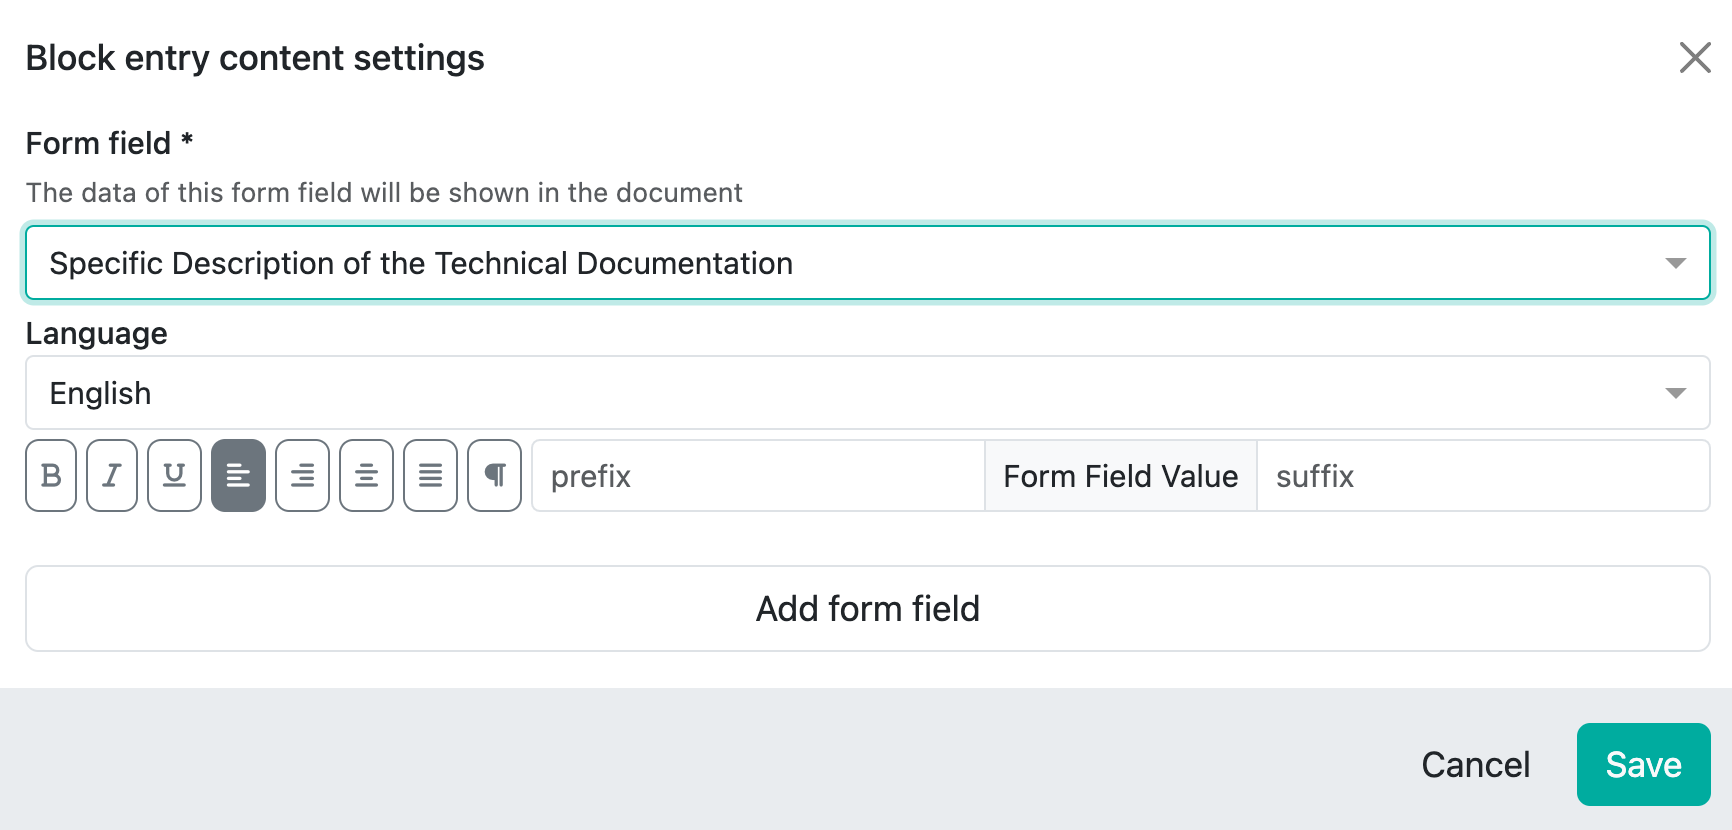
These fields then show what is stored.
However, you can also combine these fields if, for example, you want to display the name of the TD and the description in one block. The ‘Add form field’ button at the bottom is provided for this purpose.
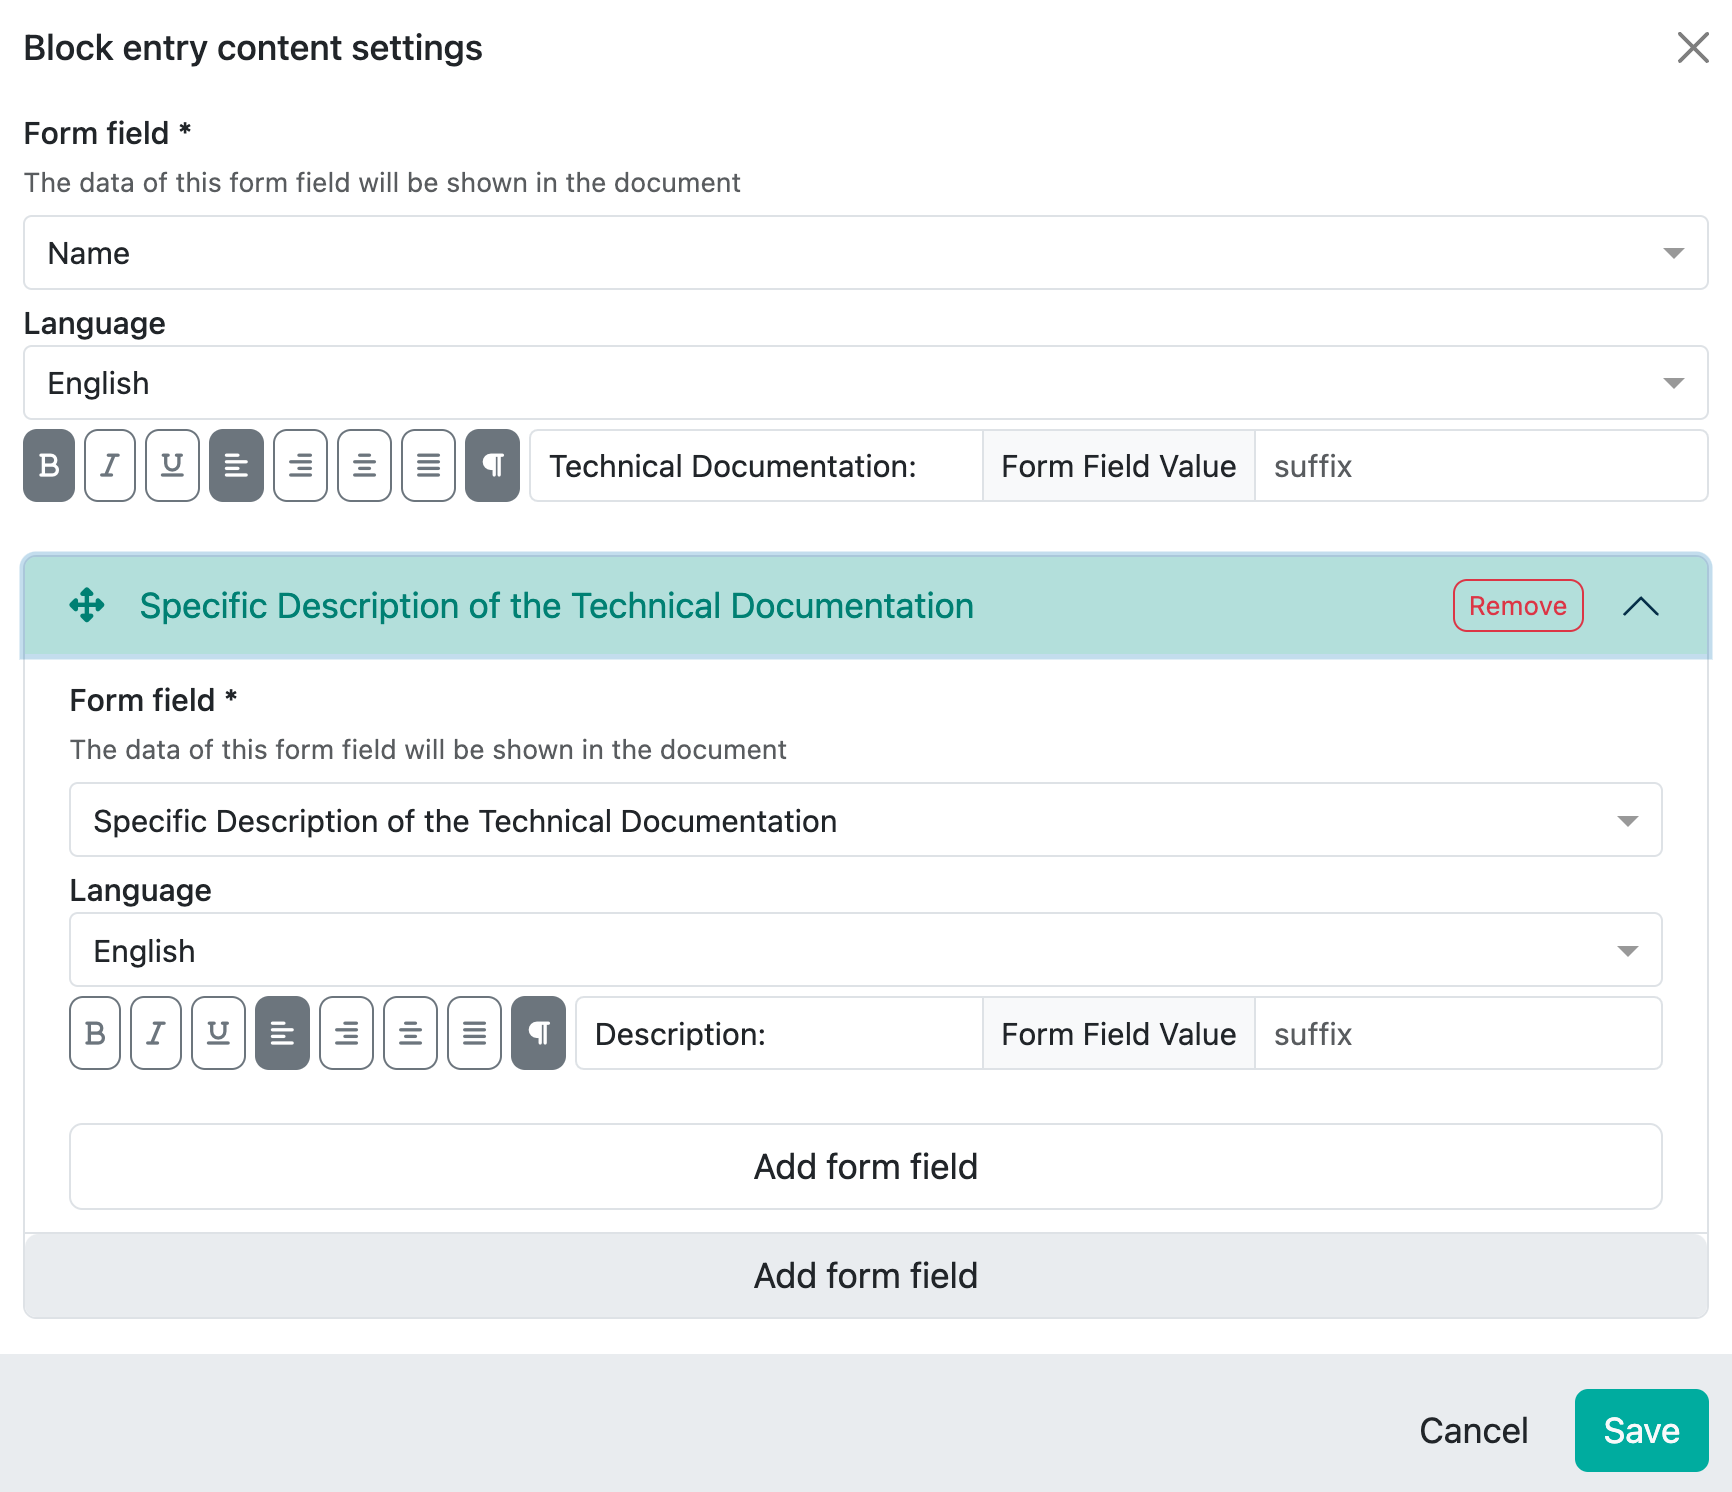
You can then define a prefix and the ‘output’ will look like this:
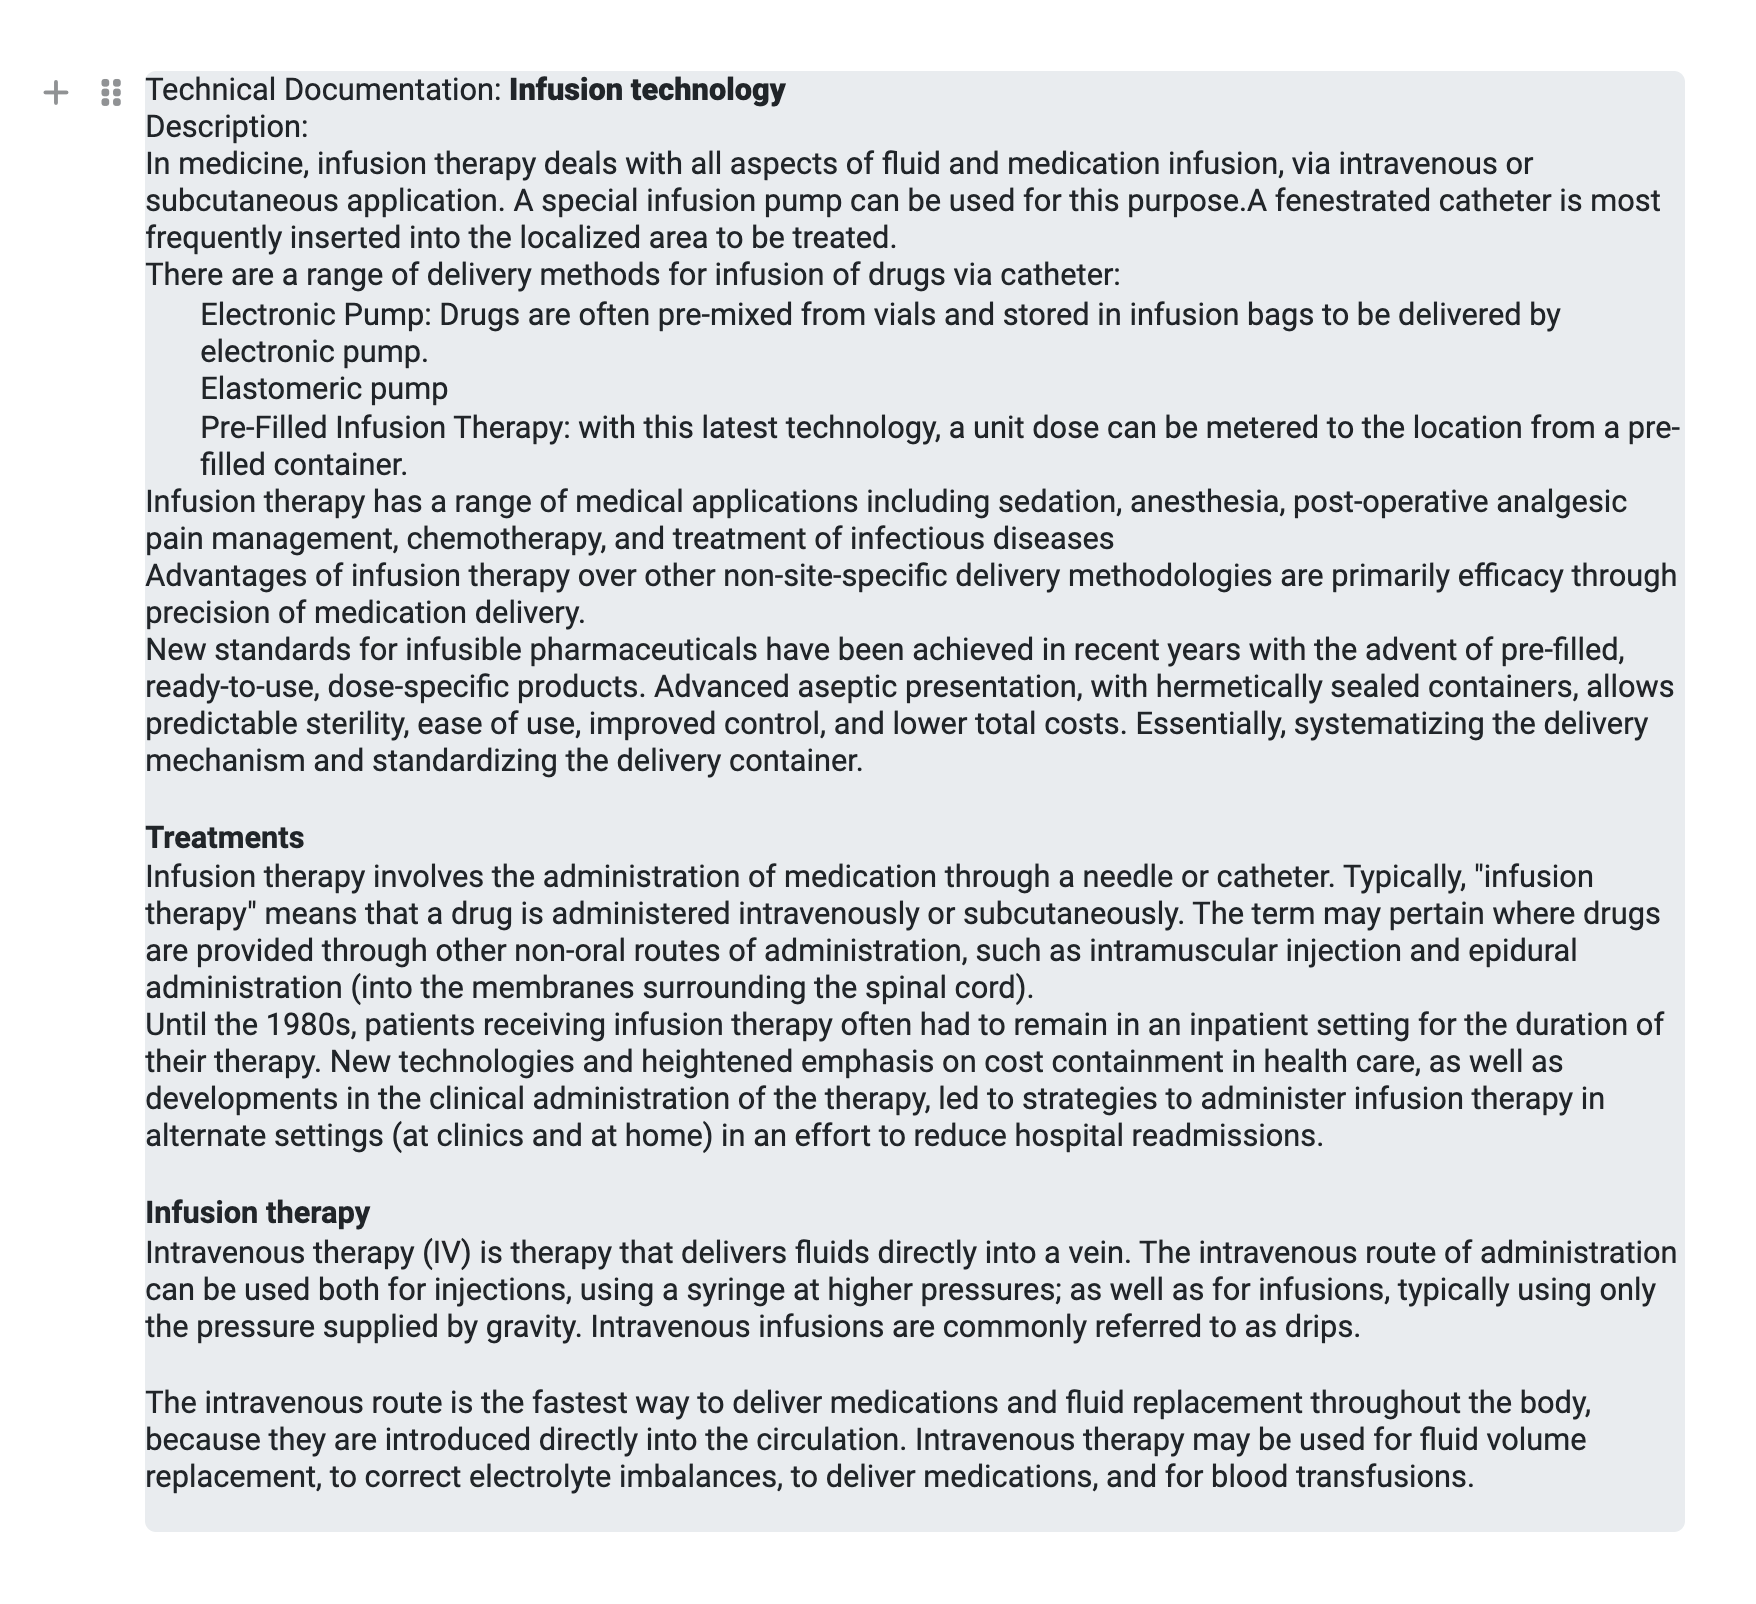
This allows you to link text and editor fields and display them in a block.
If you now want to display references (links to other collections and their entries), this looks as follows, regardless of whether they are documents or entries. Here are two examples, both with eTD as the collection (data basis). One shows documents that are linked to the eTD and the other shows a table with products and product information that belong to the TD:
Example documents as bullet point list:

Here you refer directly to the field of the Biological Evaluation relevant documents, define the display form and add the fields below which you have stored as metadata for the document, here for example only the document name:
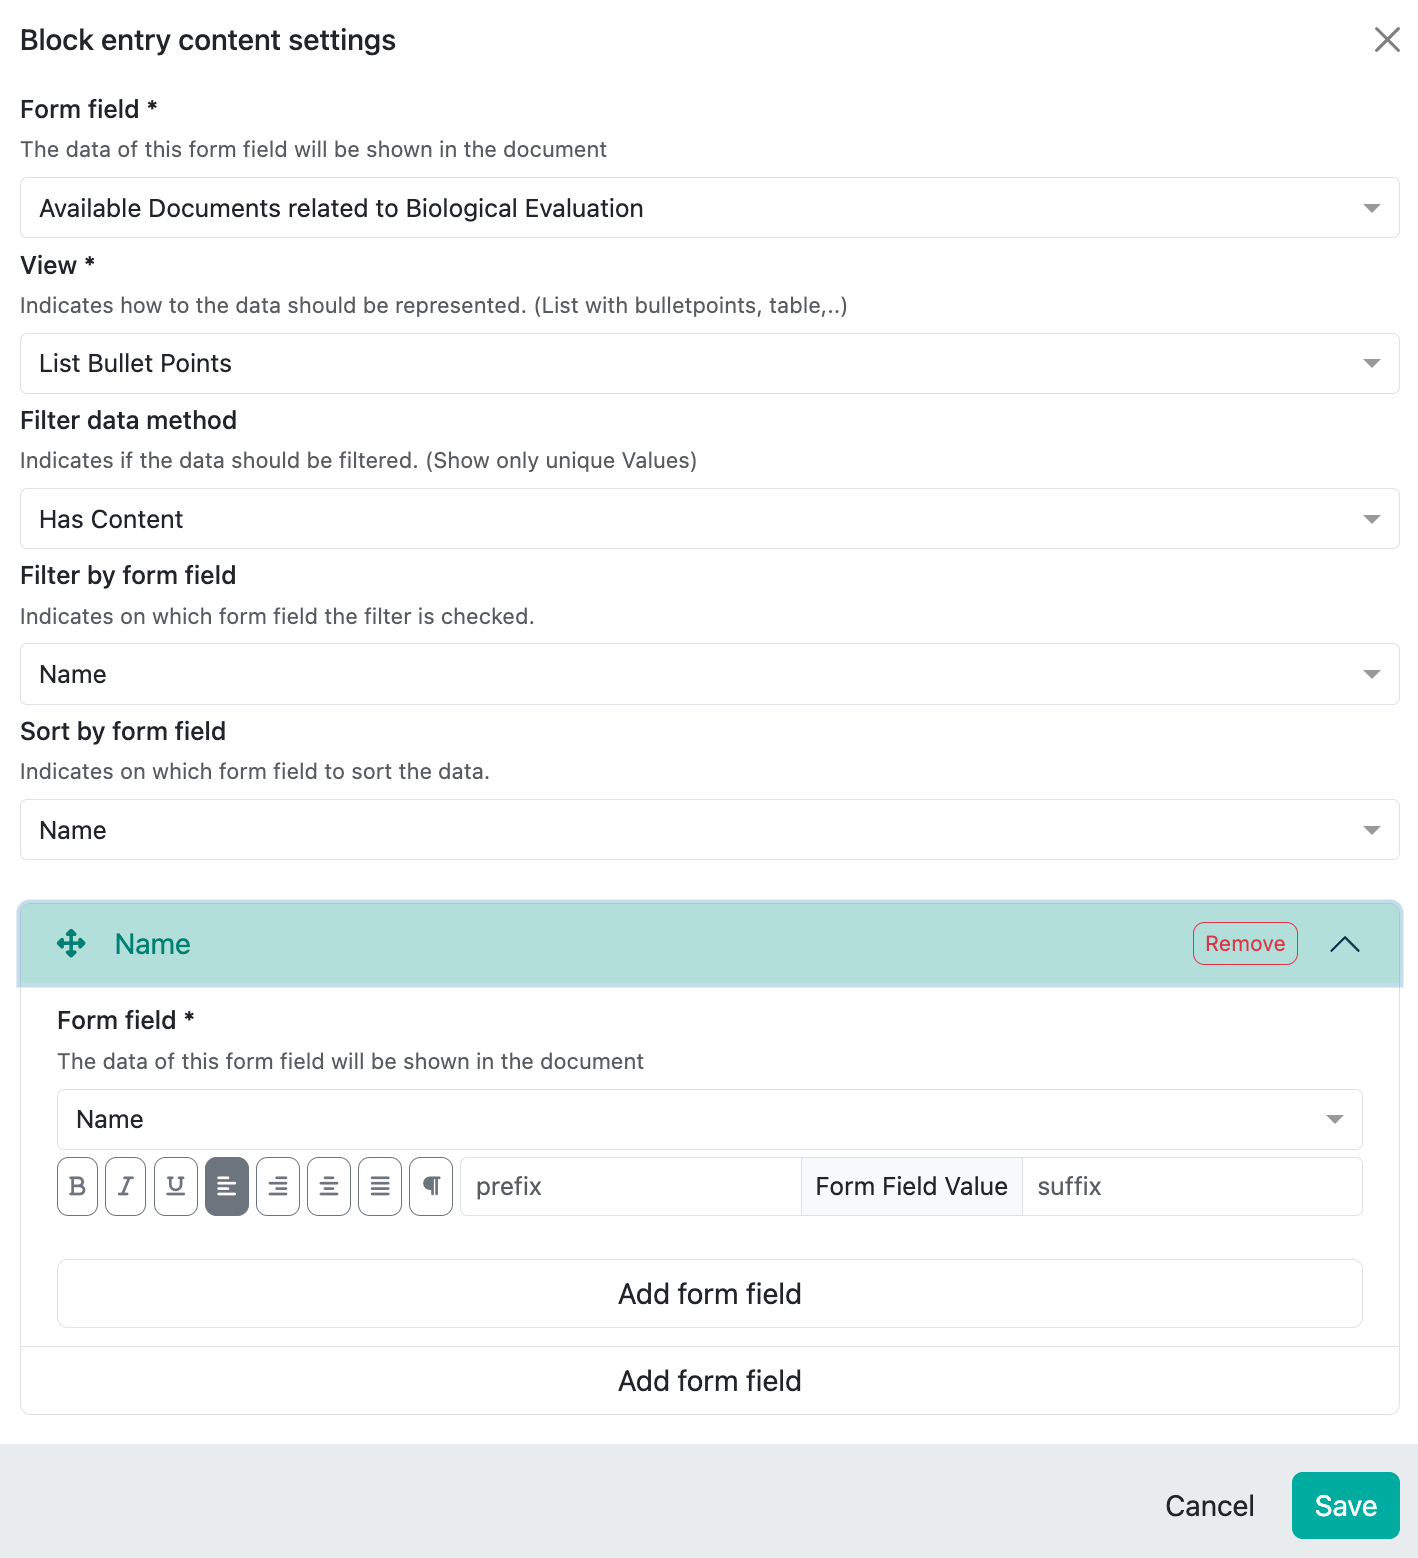
Here we also have various options for display, for documents we use bullet points by default, but we could also use table format or similar, e.g. to additionally display the document type:

Example product overview incl. risk class:

As we want to have product information and a list of all products, we first select Products, then the display format, in this case Table, and at the bottom we select the product-relevant fields that we want to display, in this example the article number, the product name and the risk class (MDR):

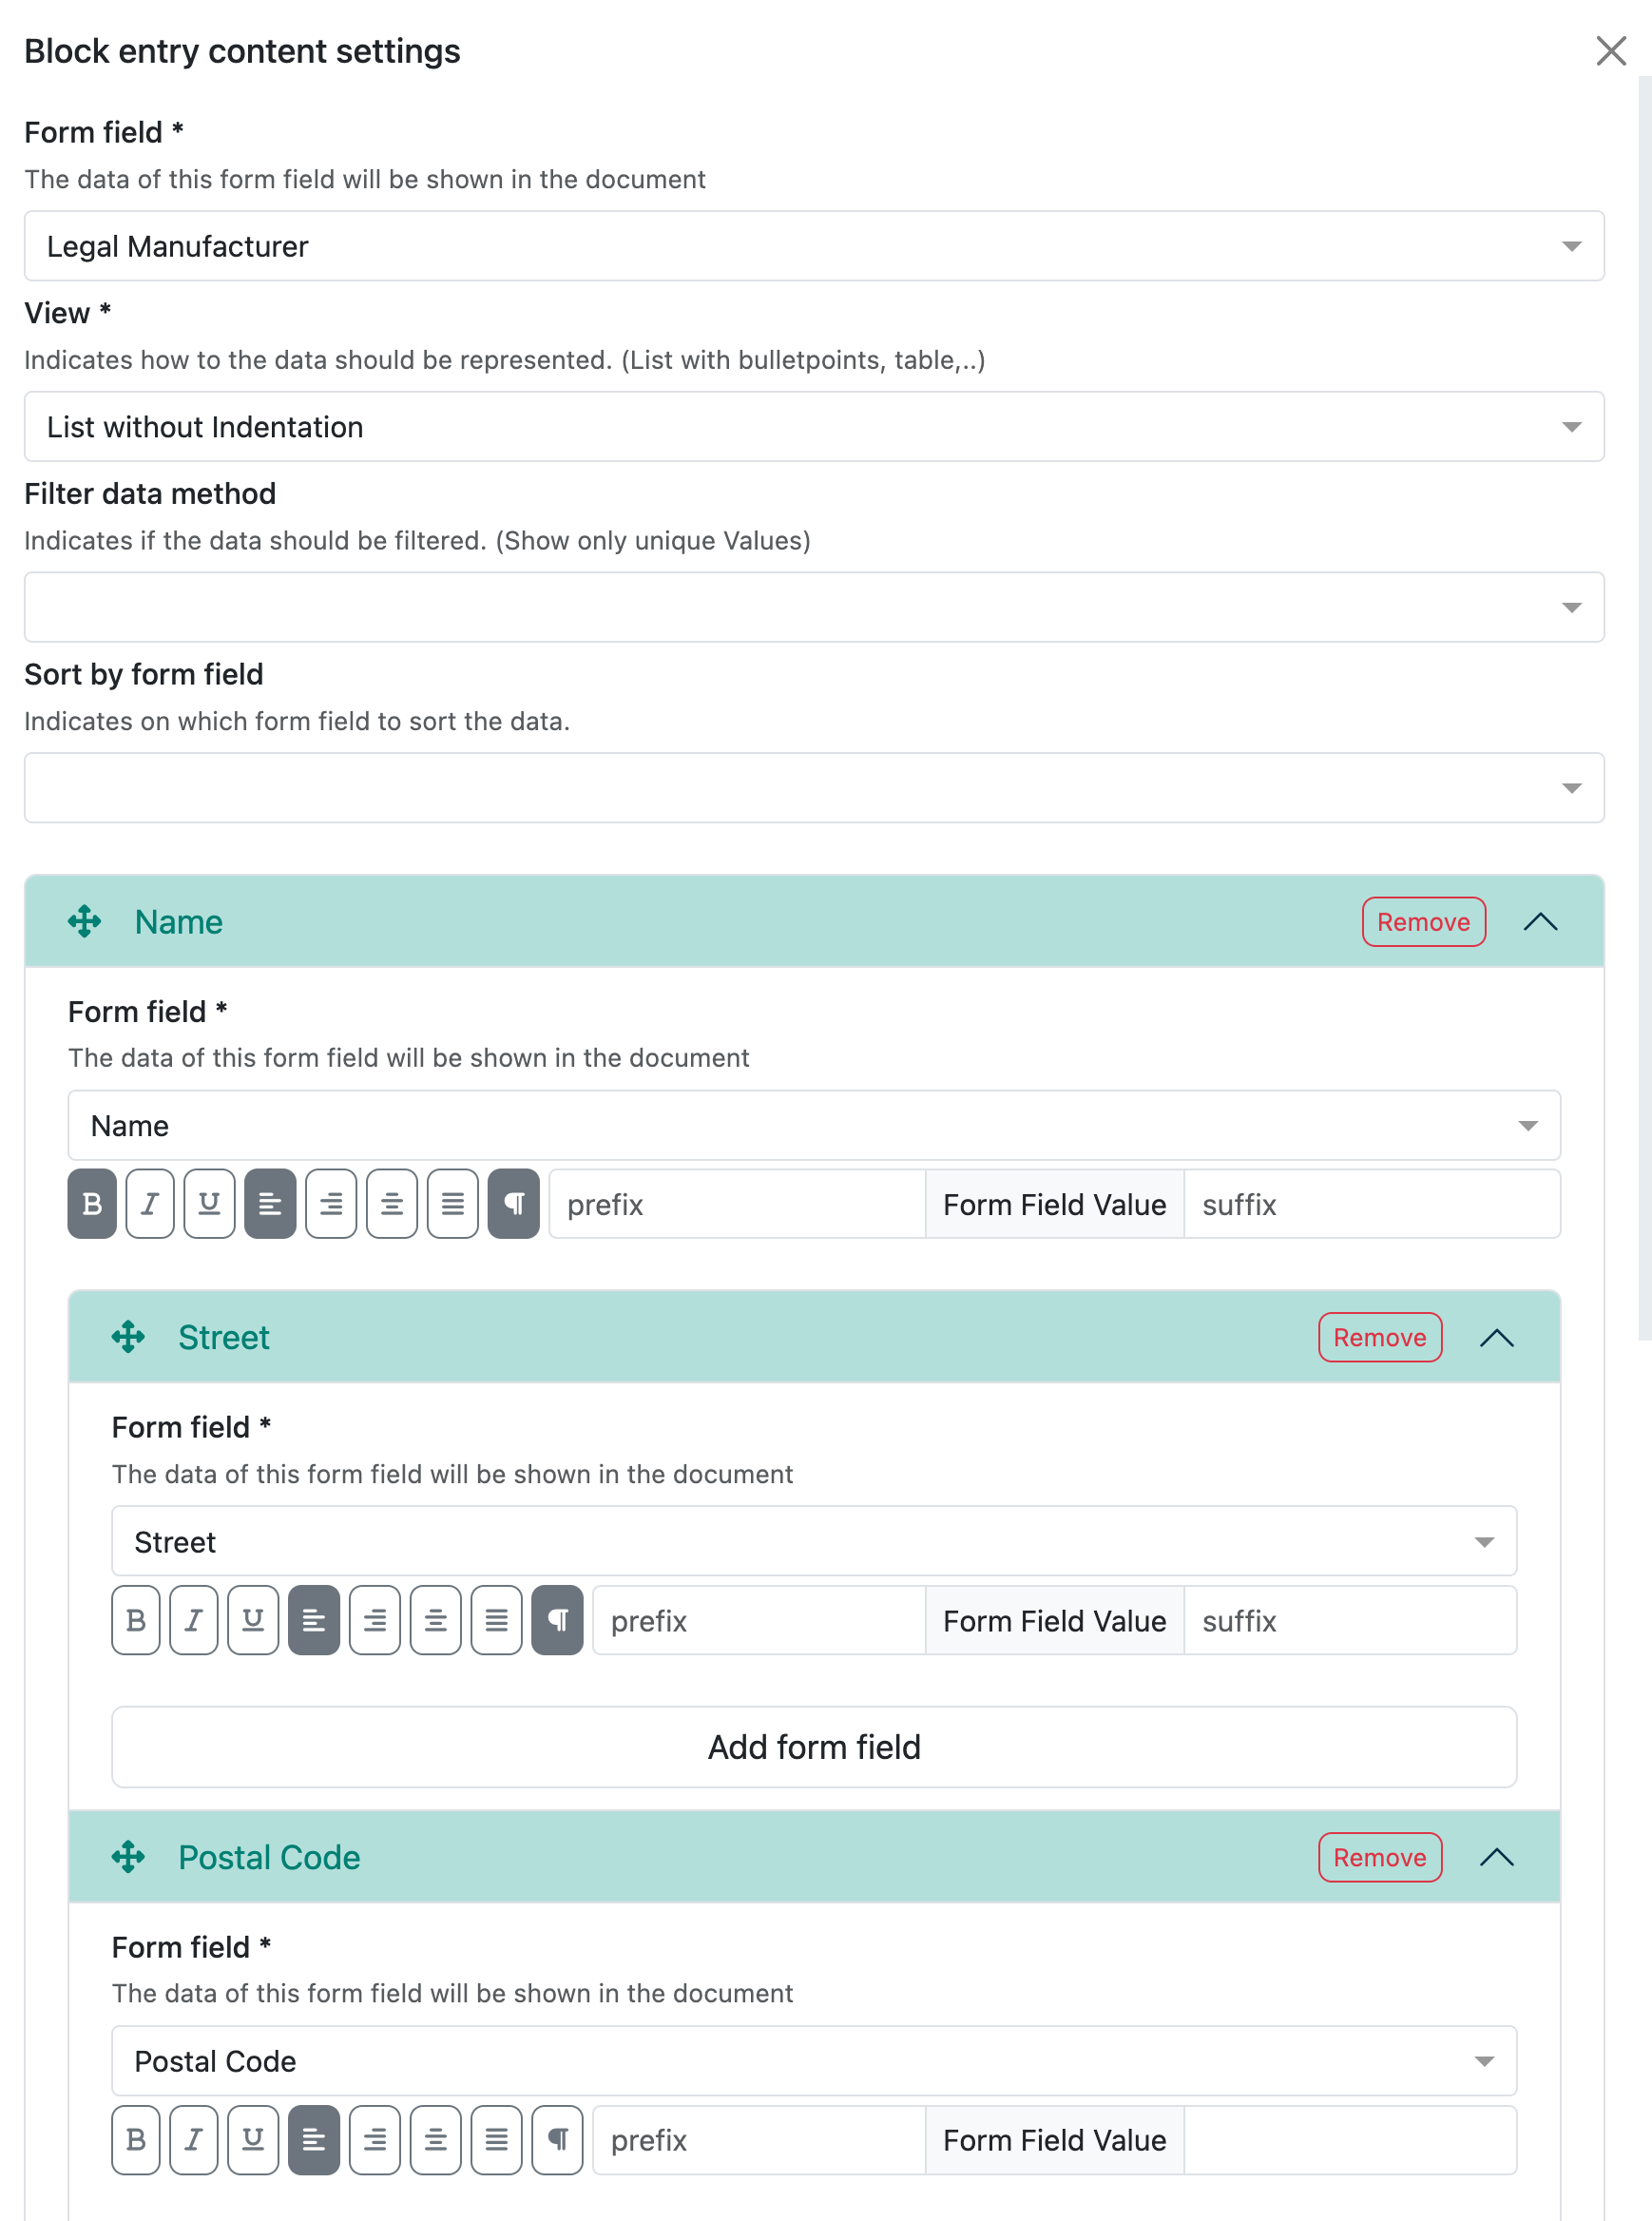
Example legal manufacturer
This field is a reference to the collection ‘Contacts & Legal Entities:
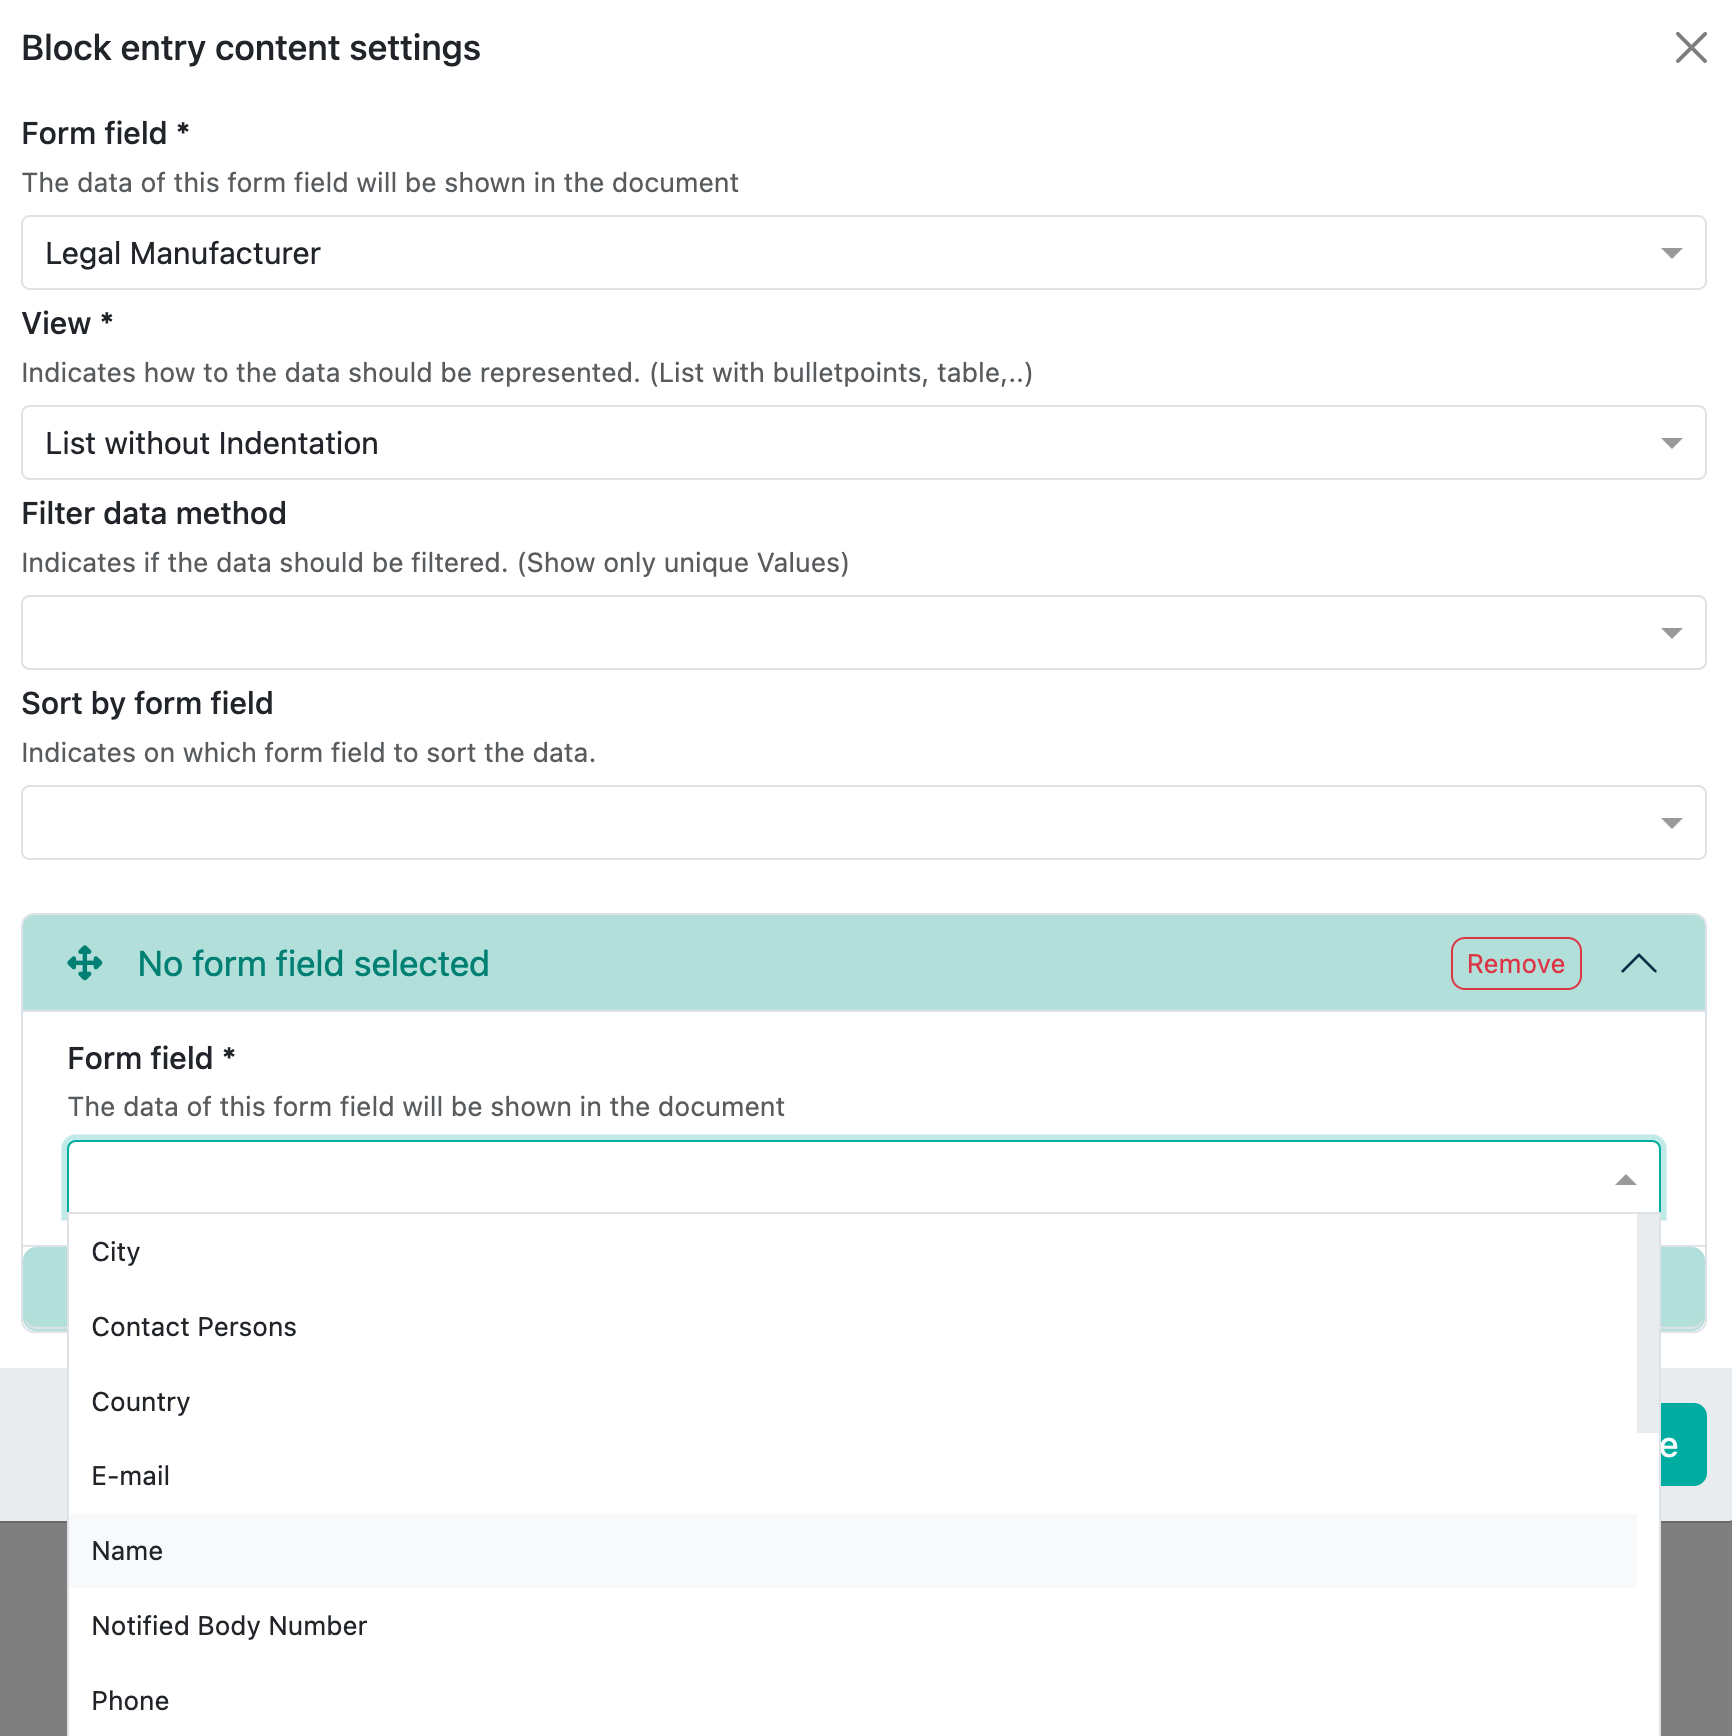
All content fields that are available in the selected reference collection are then displayed here.
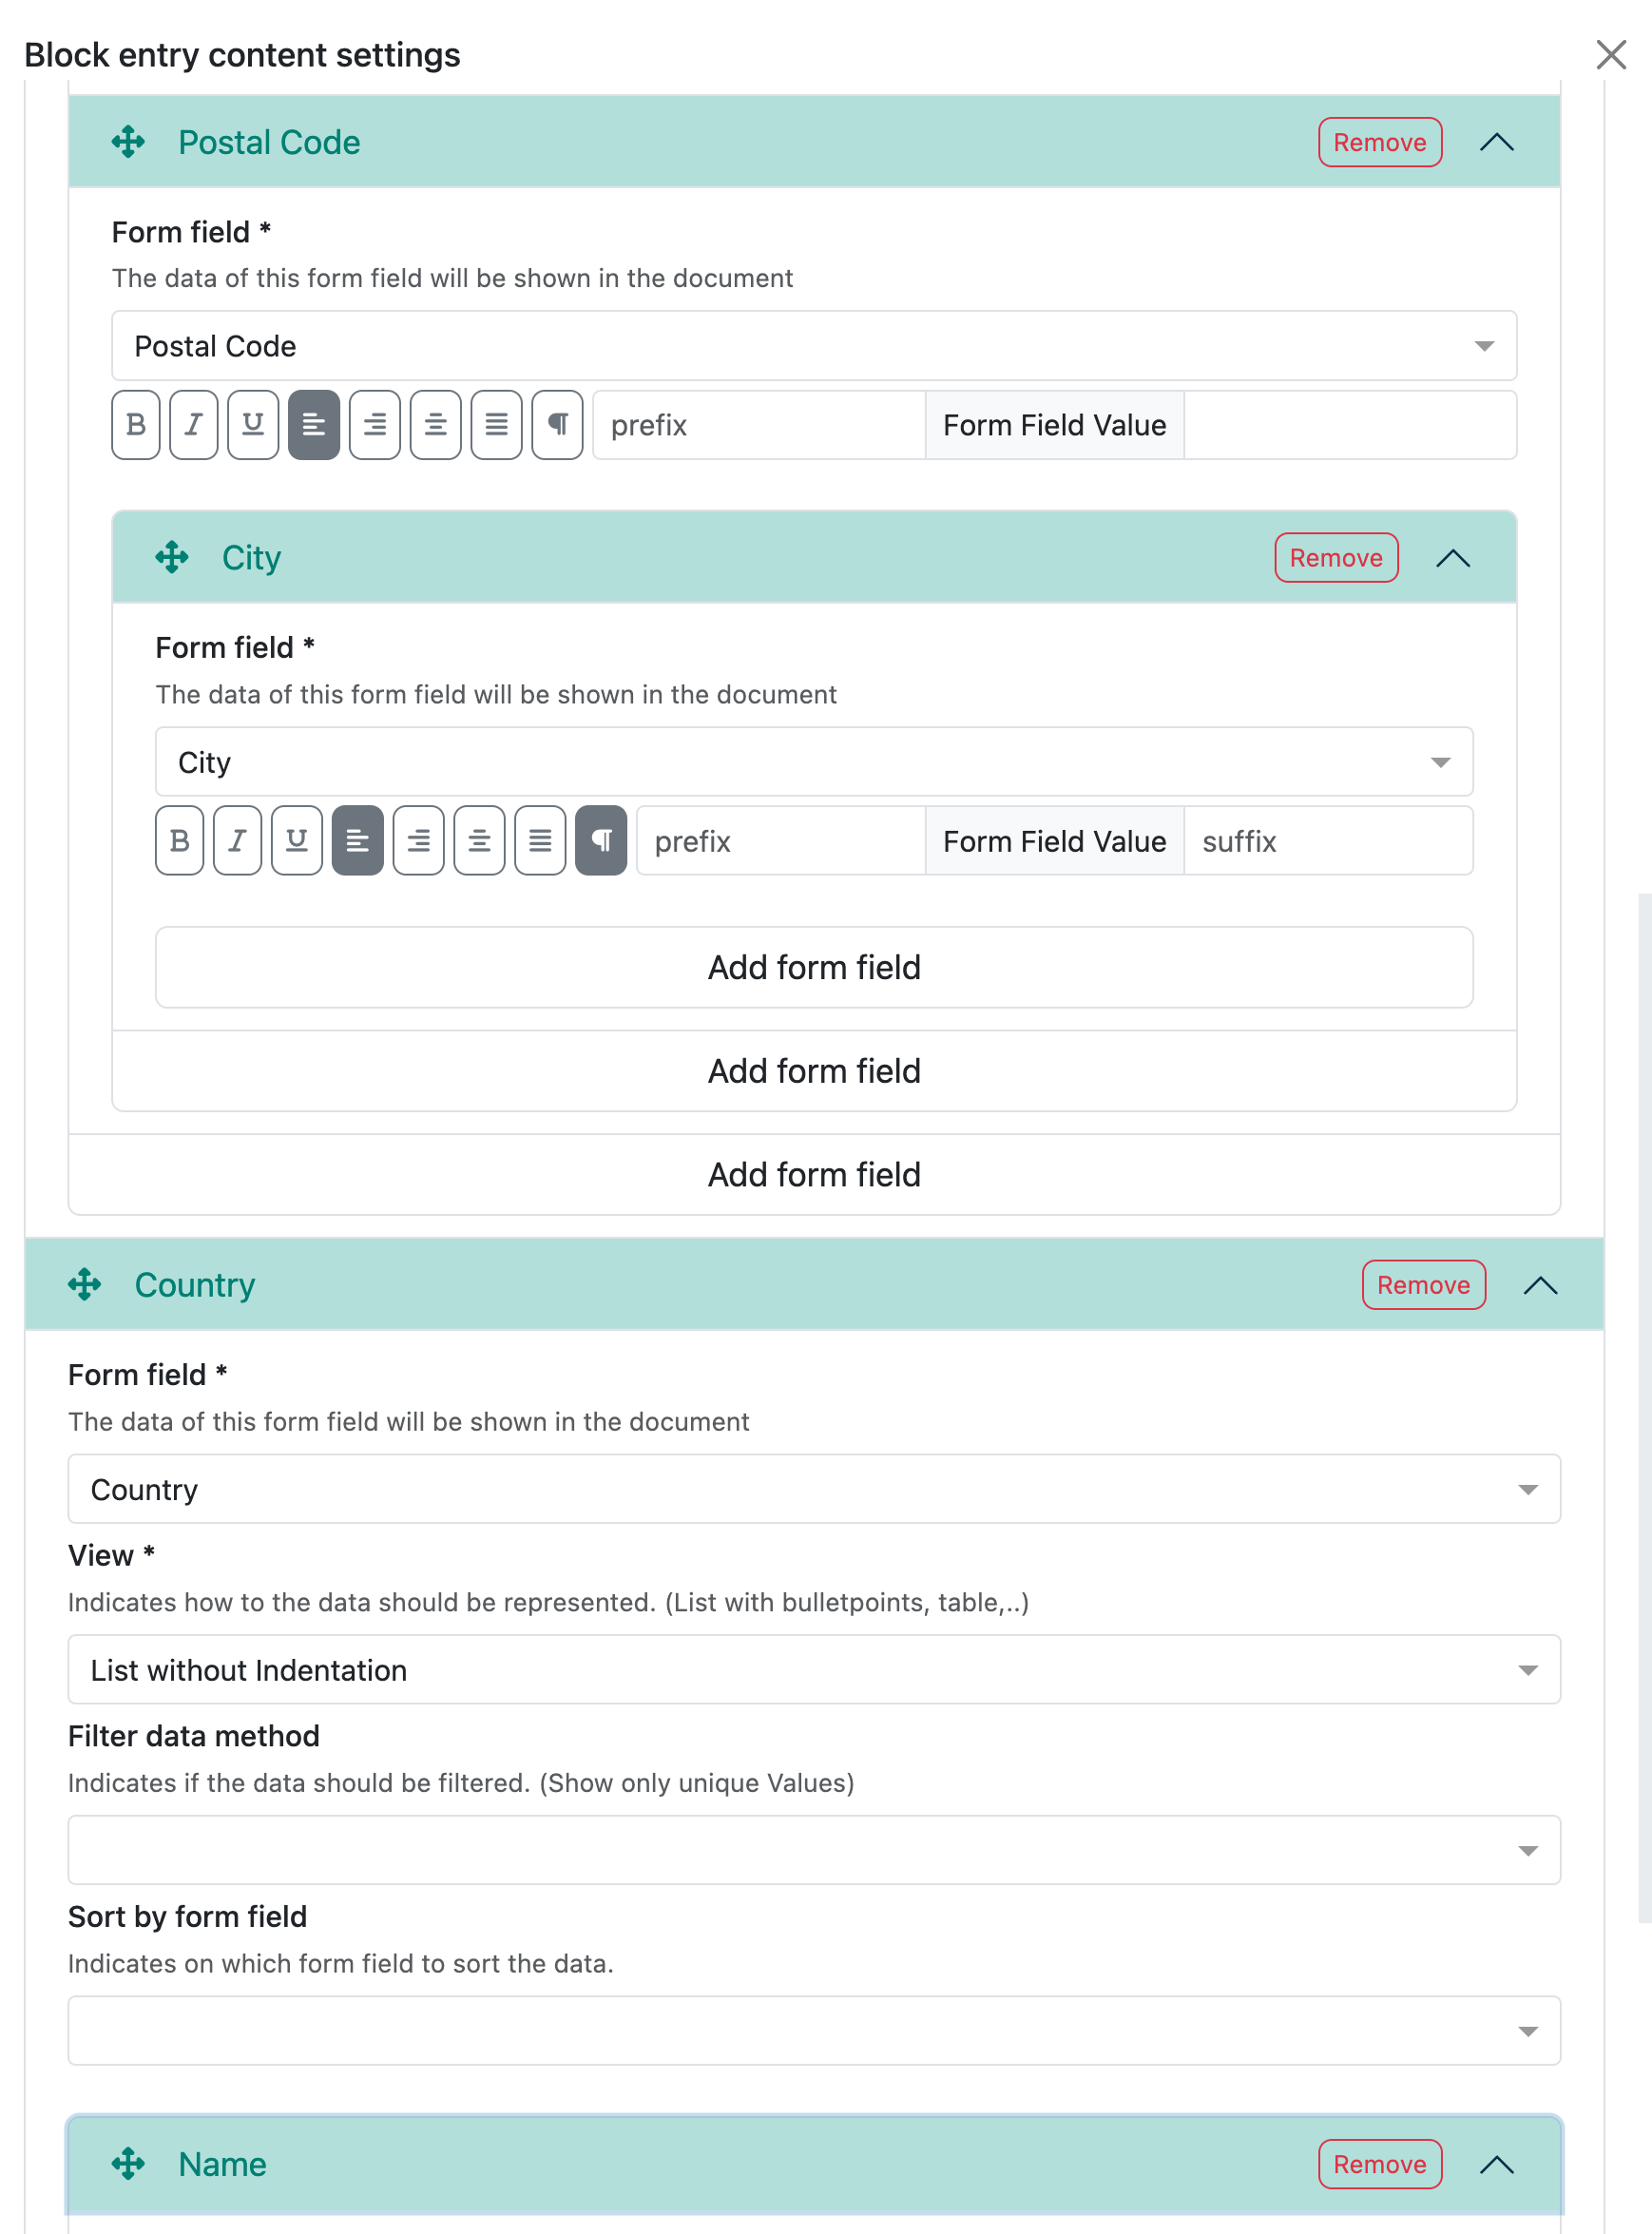
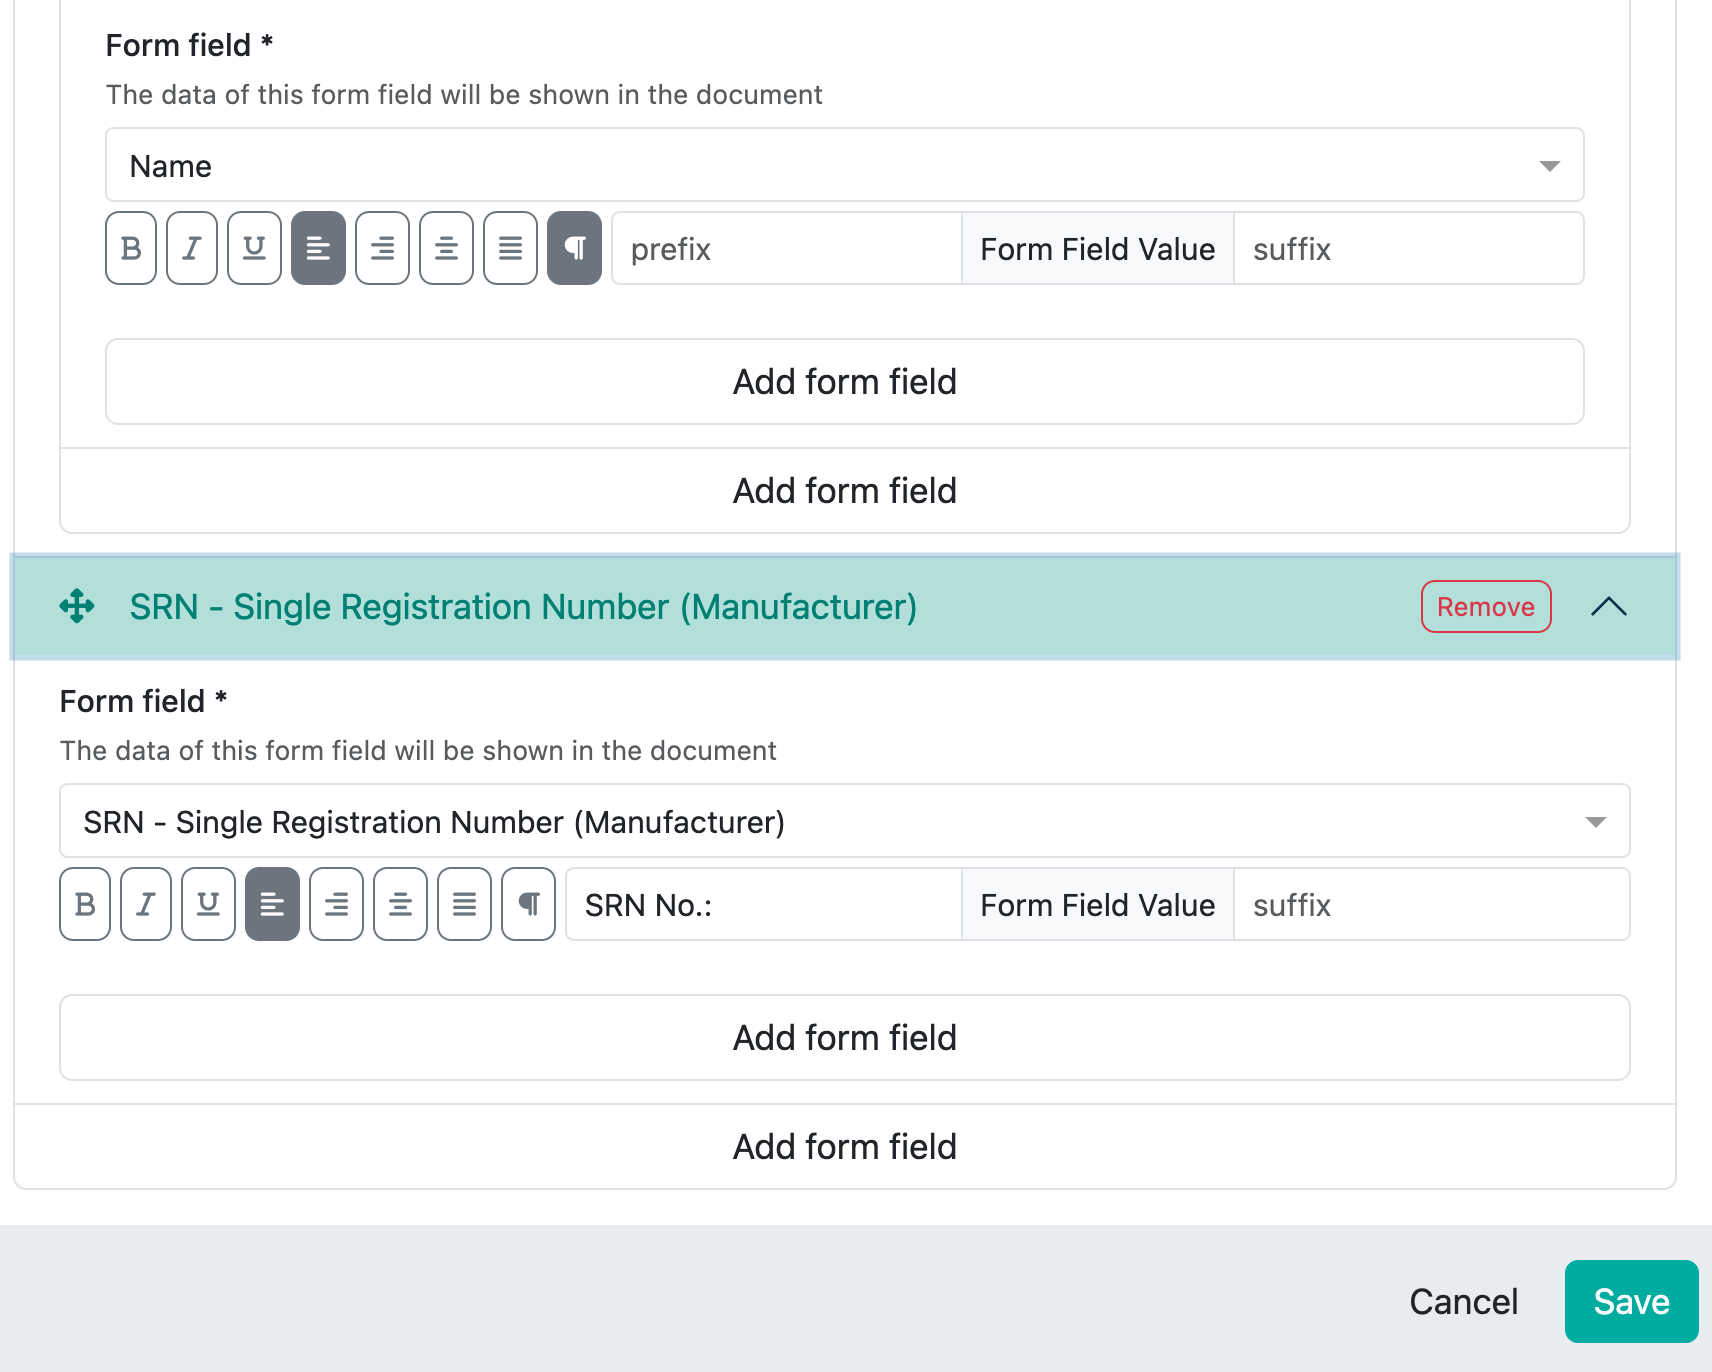
For the legal manufacturer, you may want to display the name in bold and also the address and SRN number. This looks as follows in the preview:

The whole thing is then a little more complex and this is what the corresponding configuration in the Writer looks like: